No. 10
Design, Planning & Construction
lvp architects were appointed to work on a residential project, to help develop a brief and design on their detached property.
It began with assessing the client’s current and long-term needs, then reviewing the existing spaces within the building and the site’s potential, then developing some concept proposals and reviewing the brief as we went along making sure it was still relevant and aligned.
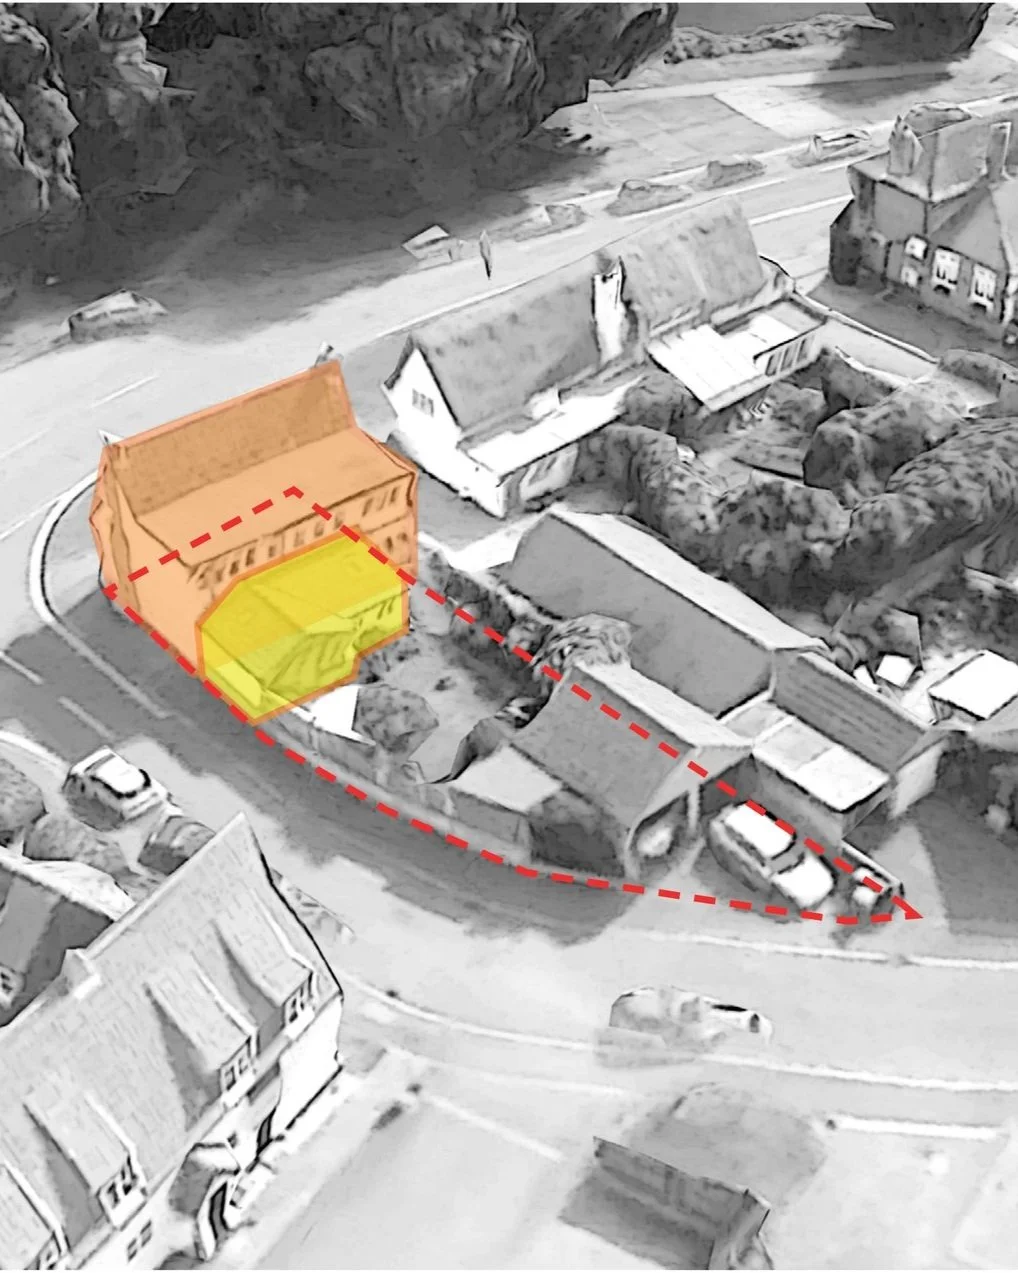
No.10 is a detached property within a conservation area alongside a neighbouring listed property
The dwelling is part of a line of properties that form a strong street frontage, with no.10 forming the bookend
EXISTING LAYOUT
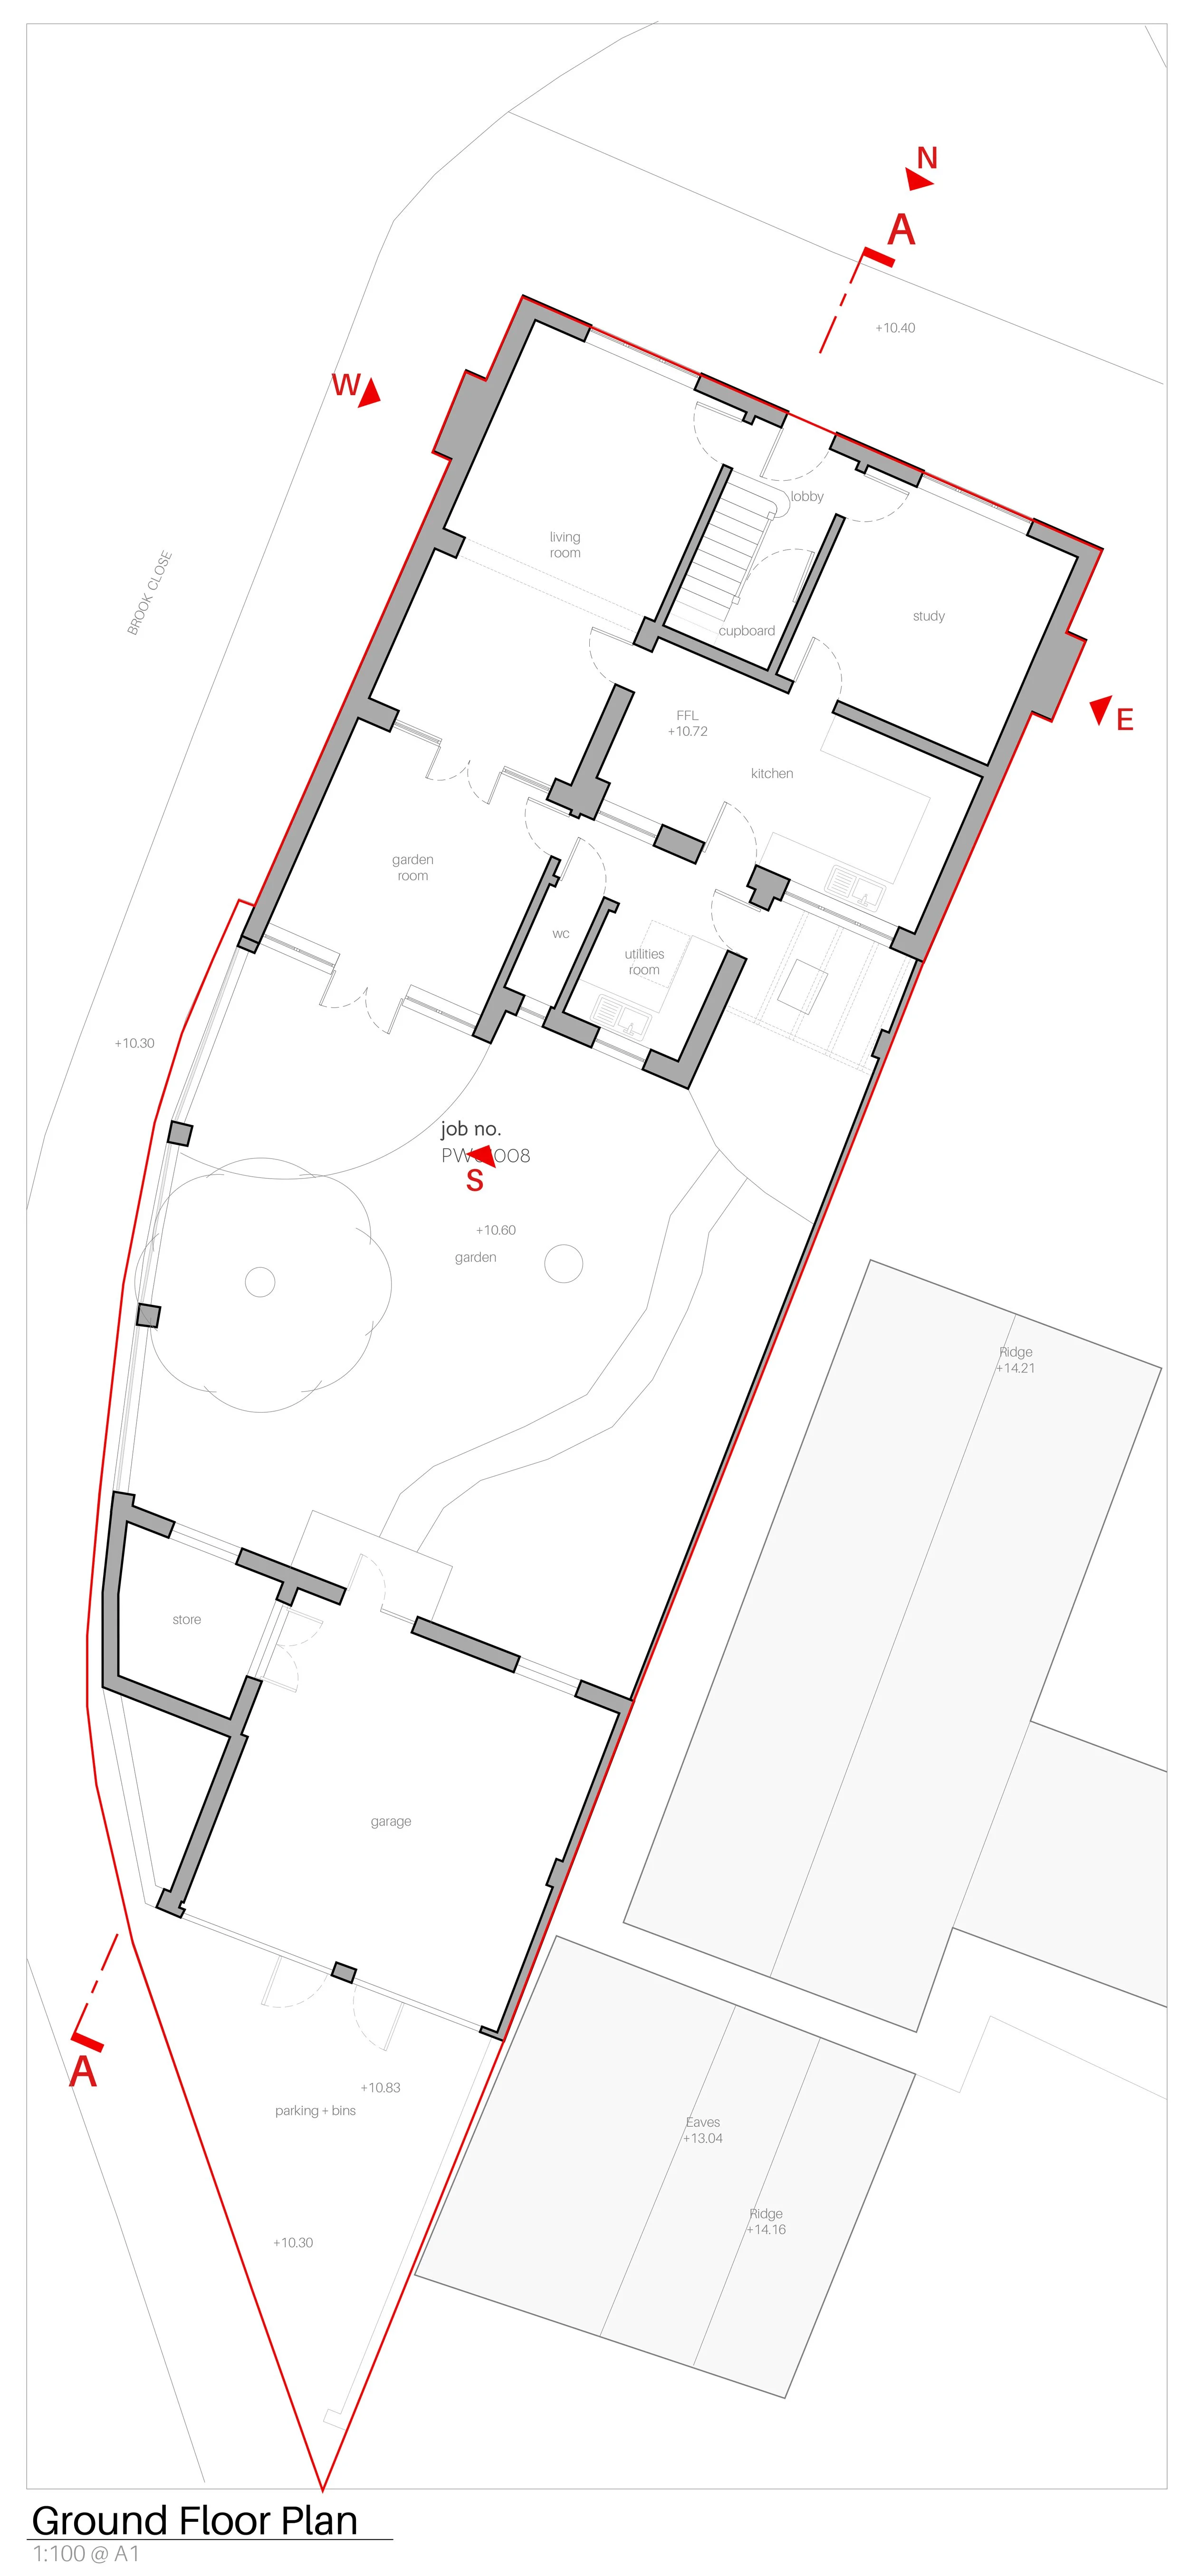
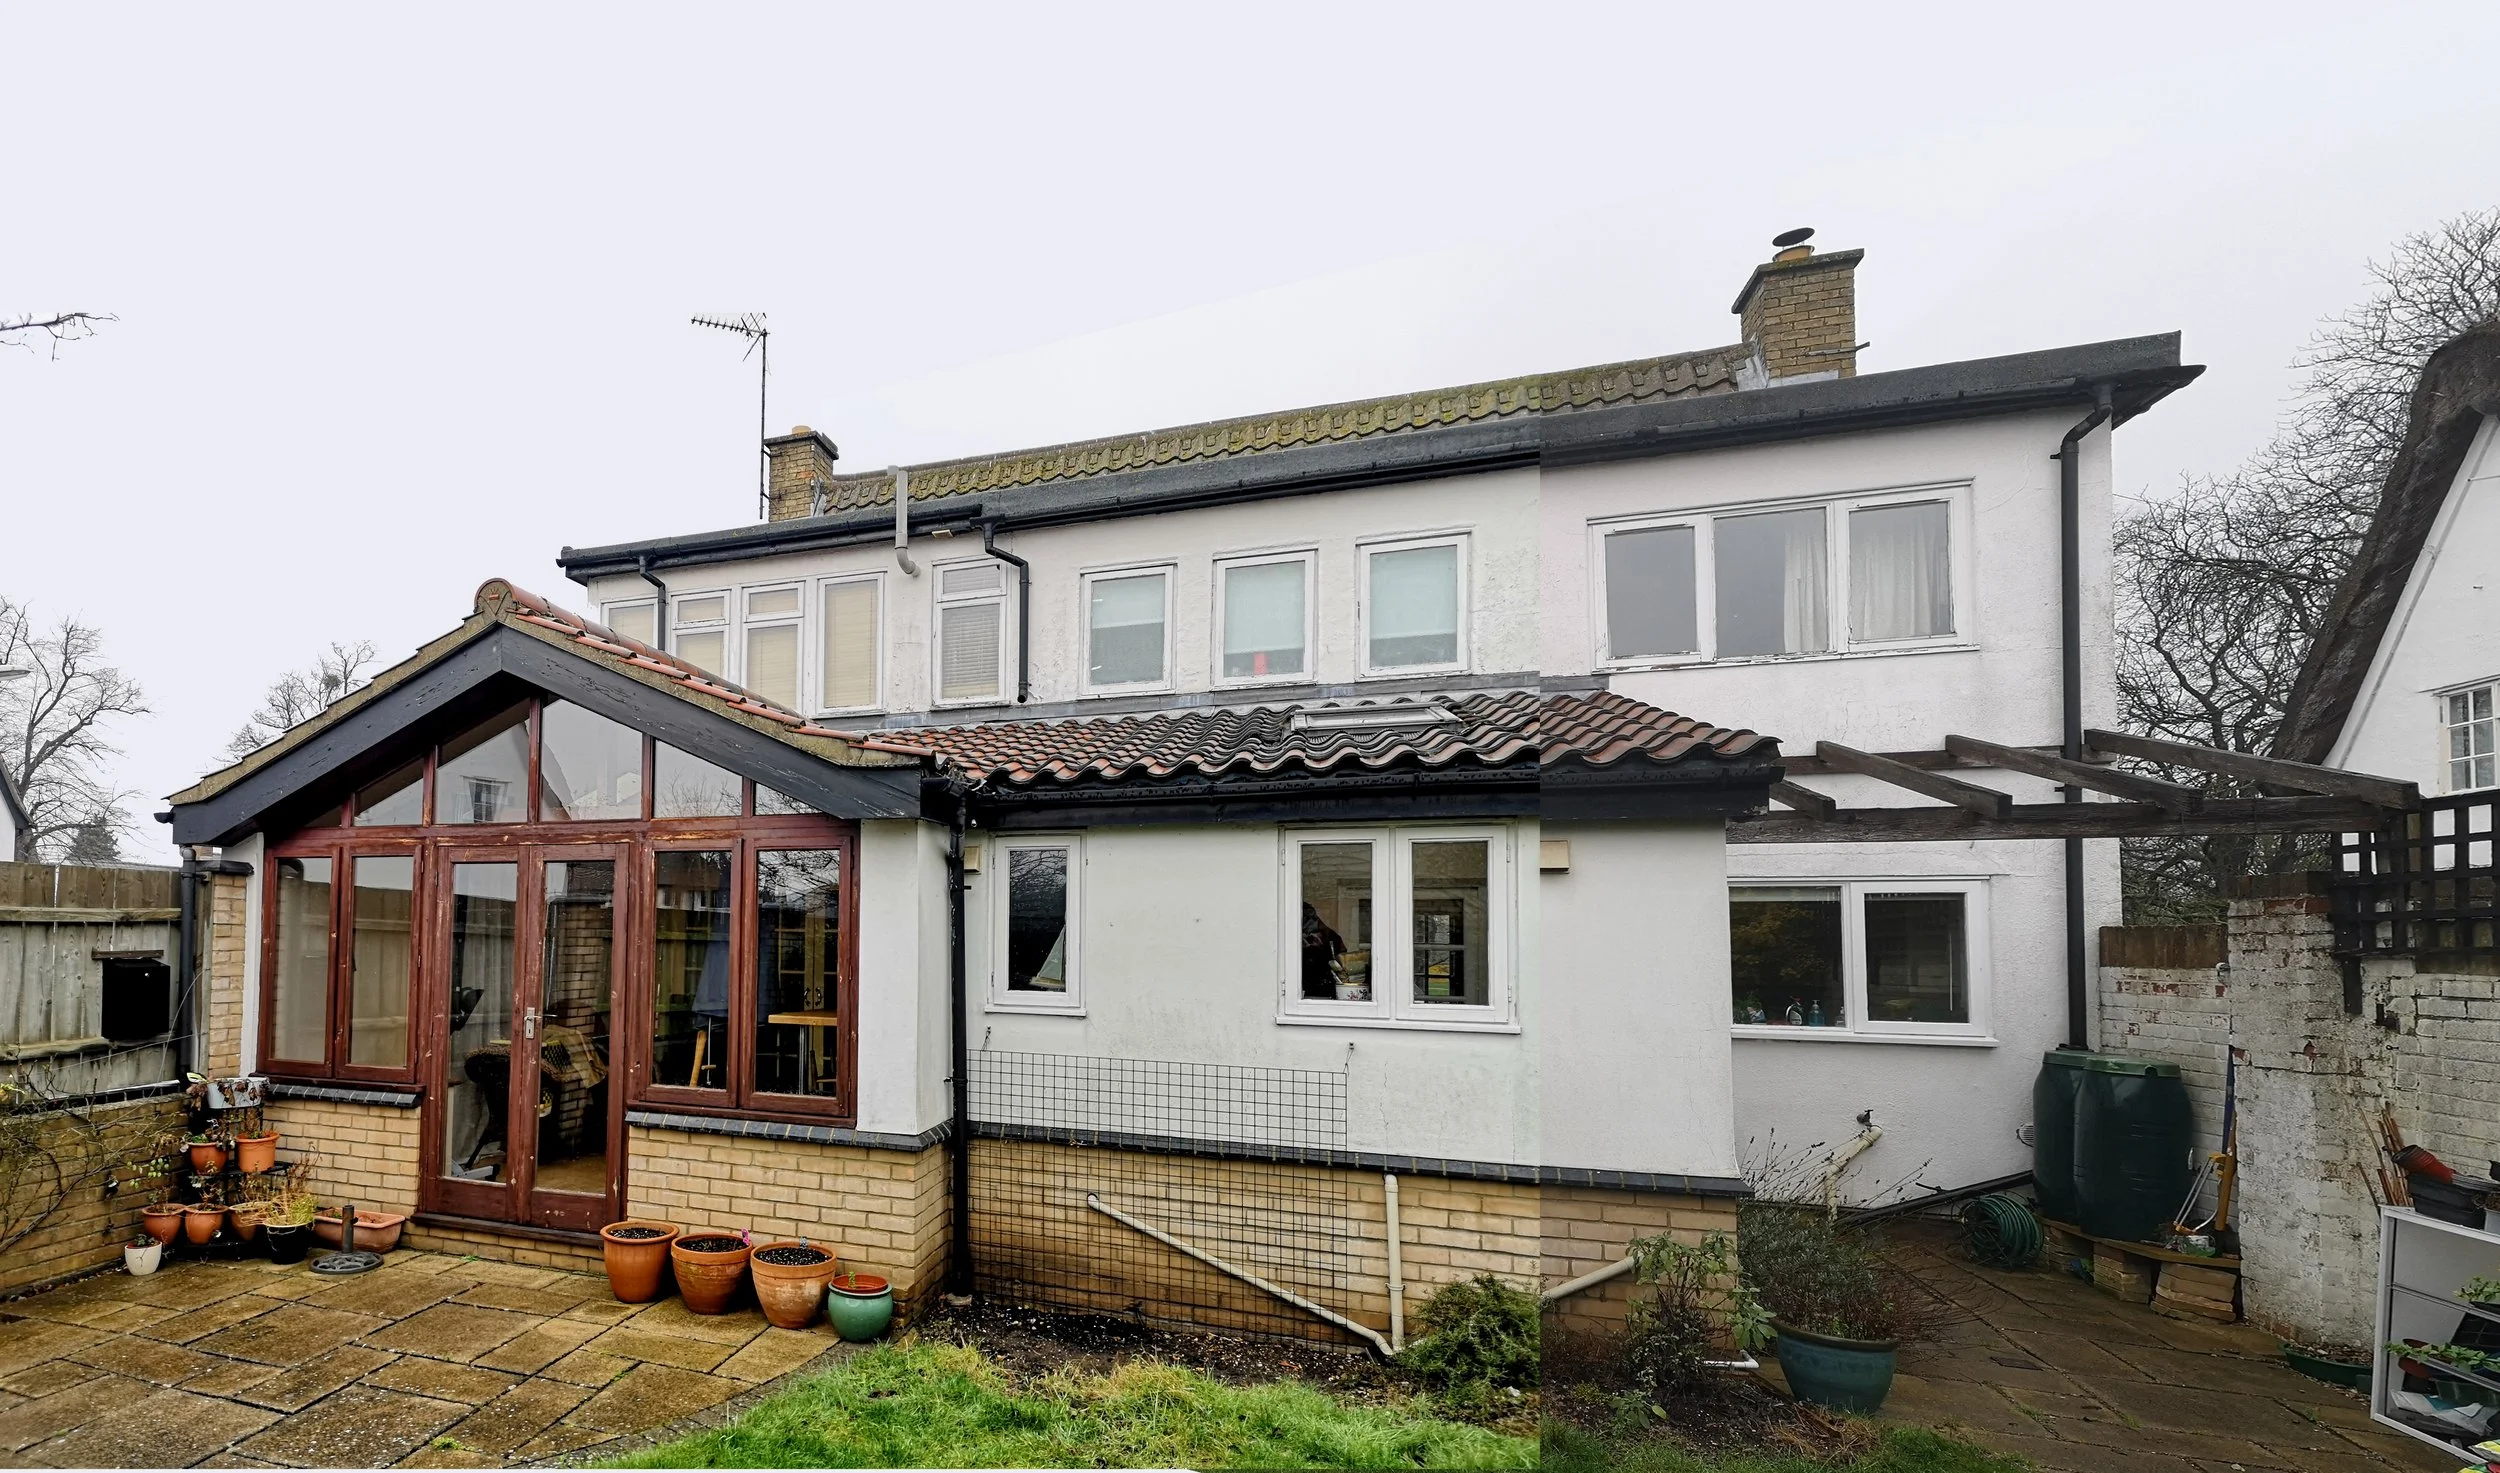
The existing property had previously had a single rear extension added over 15 years ago, which is now outdated and unsuitable for the family's needs.
The key requirements that formed the bases of the brief were, on the ground floor a new replacement rear extension and internal reconfiguration that needed to incorporate a downstairs wc, cloakroom, utility space, and larger kitchen with a dining and entertaining space.
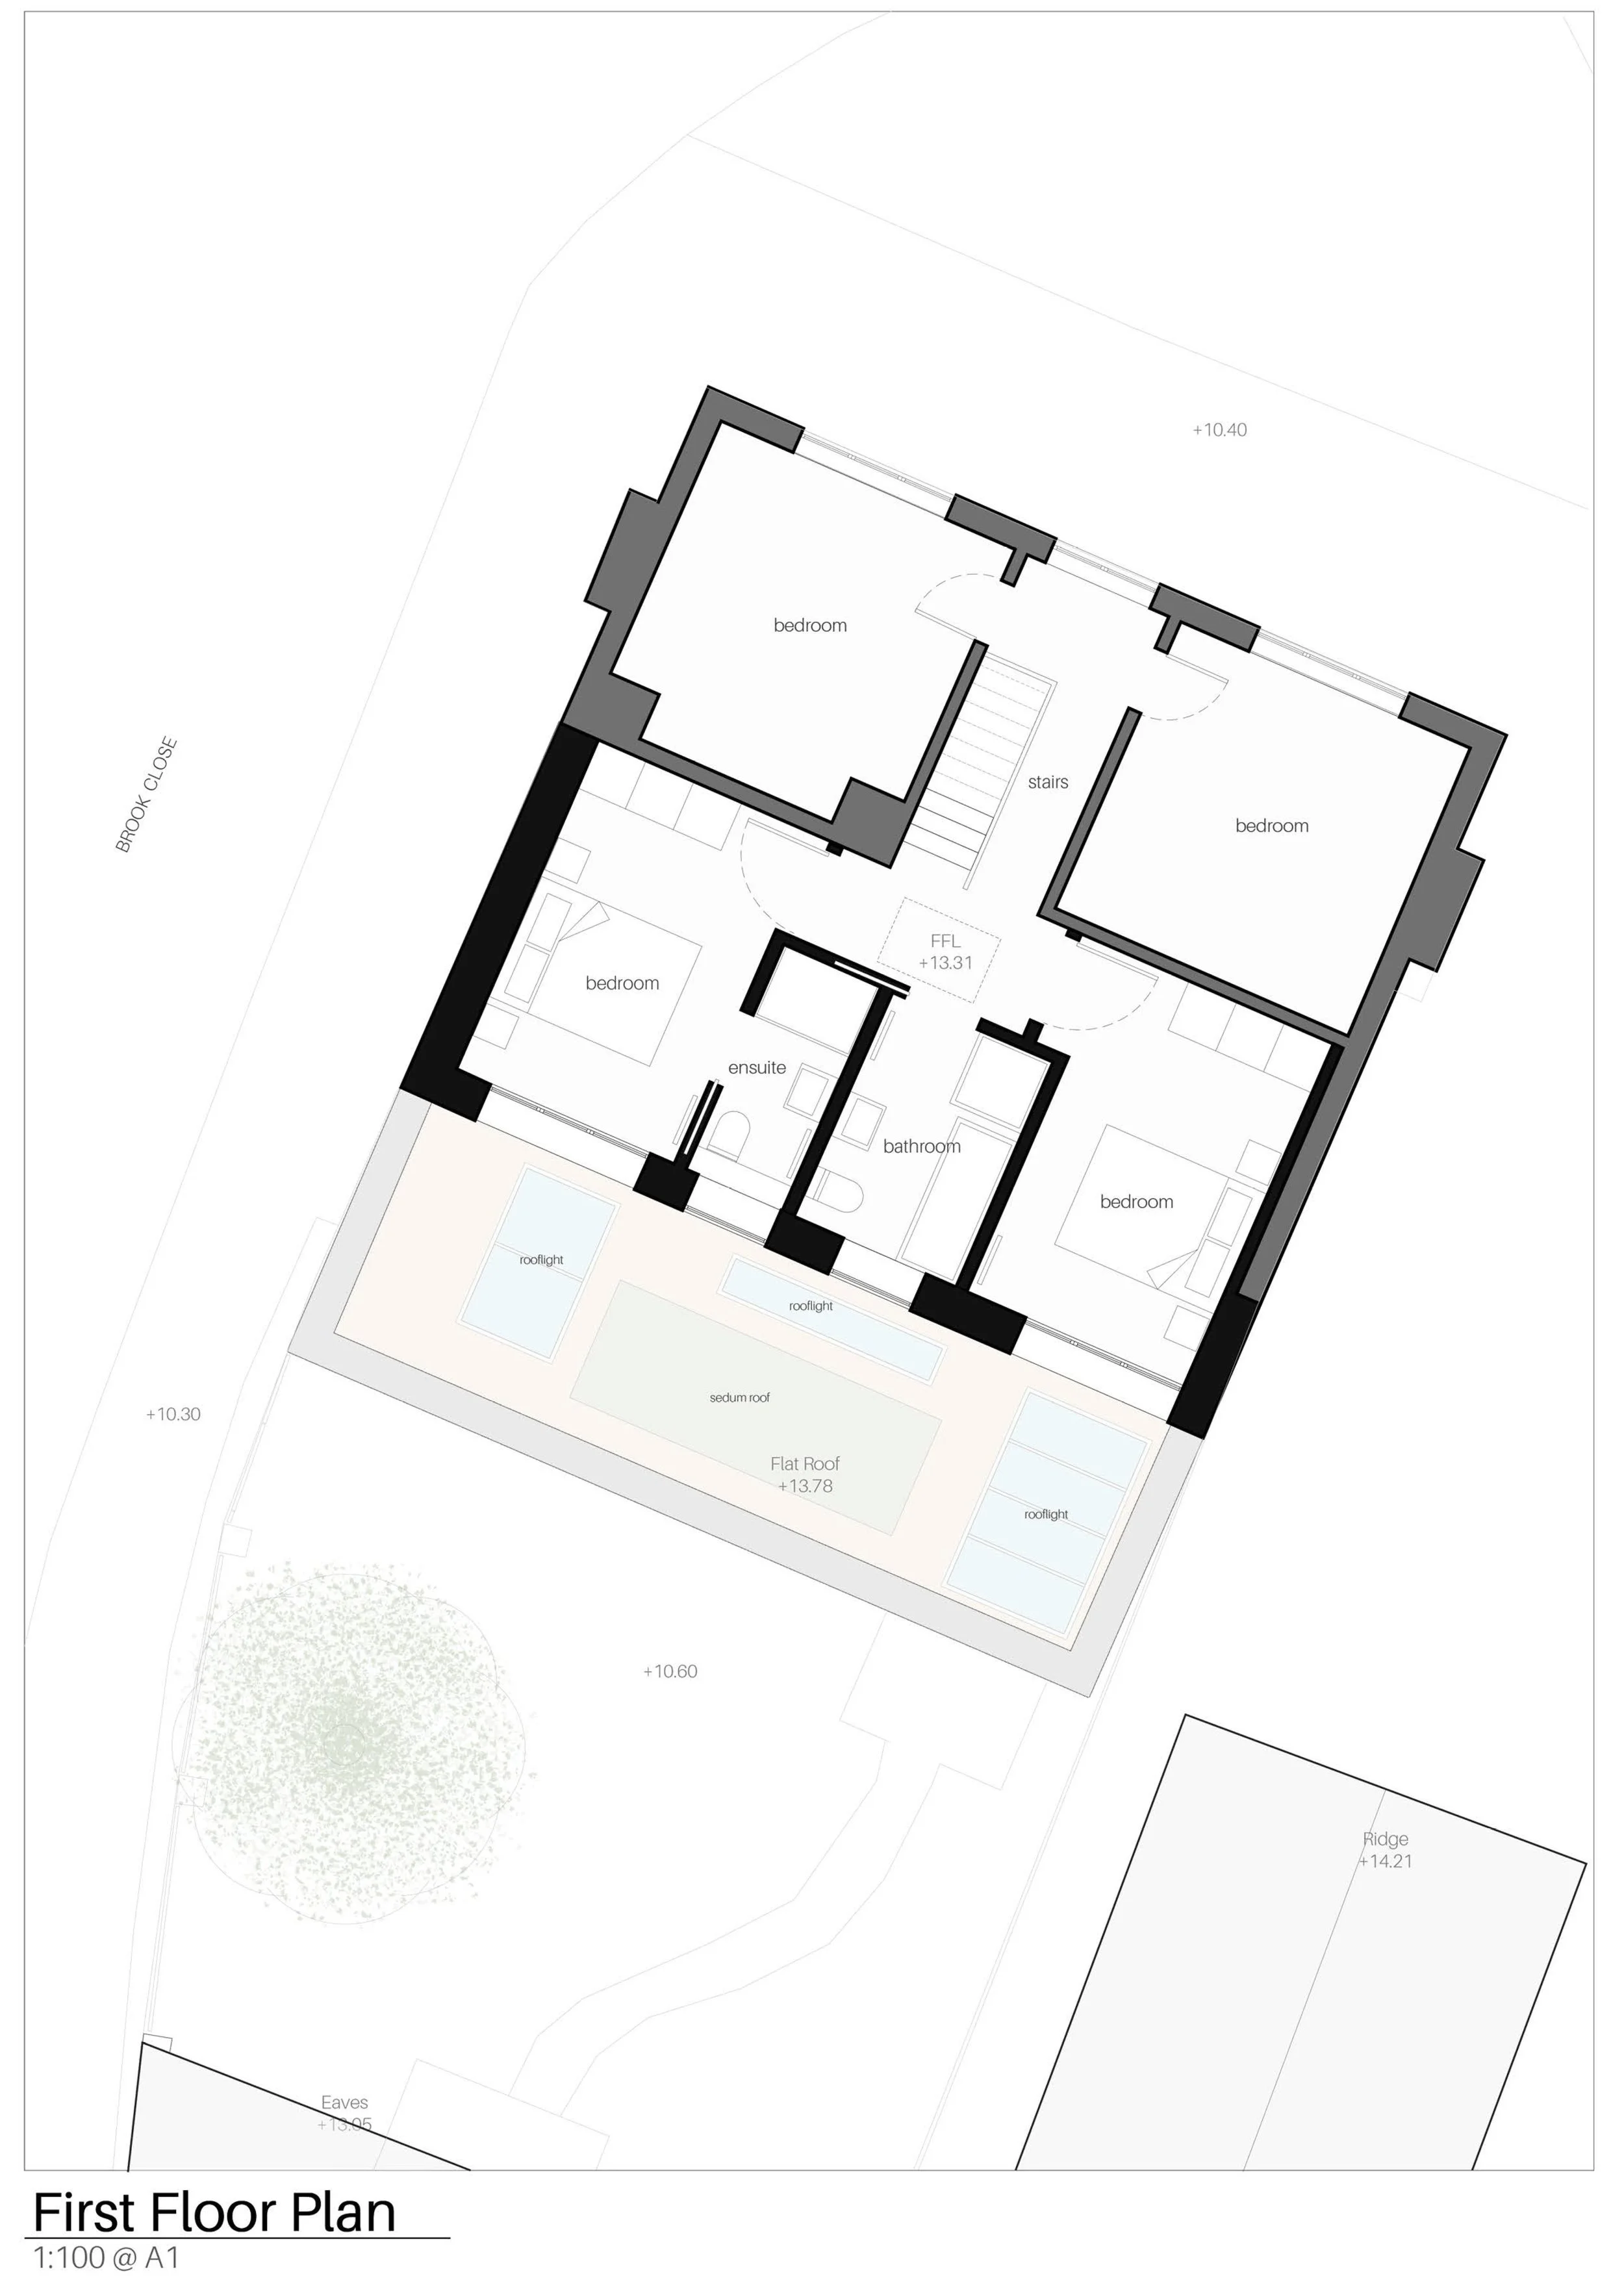
On the second floor a small extension to create larger rear bedrooms, reconfiguration and refurbishment of the main bathroom and ensuite, and new reconfigured stairs and landing.
PROPOSED LAYOUT
The principle was for the kitchen to be located at the heart of the ground floor, with a breakfast/entertaining area directly off it, to overlook the garden. The dining space is located to the side with large opening glazed doors that open onto a dedicated patio.
The first floor bedrooms have been enlarged along with the bathroom and ensuite, the reconfigured stairs allow for a more practical approach and a more comfortable first floor landing, with a dedicated rooflight above.
EXTERNAL MATERIALS
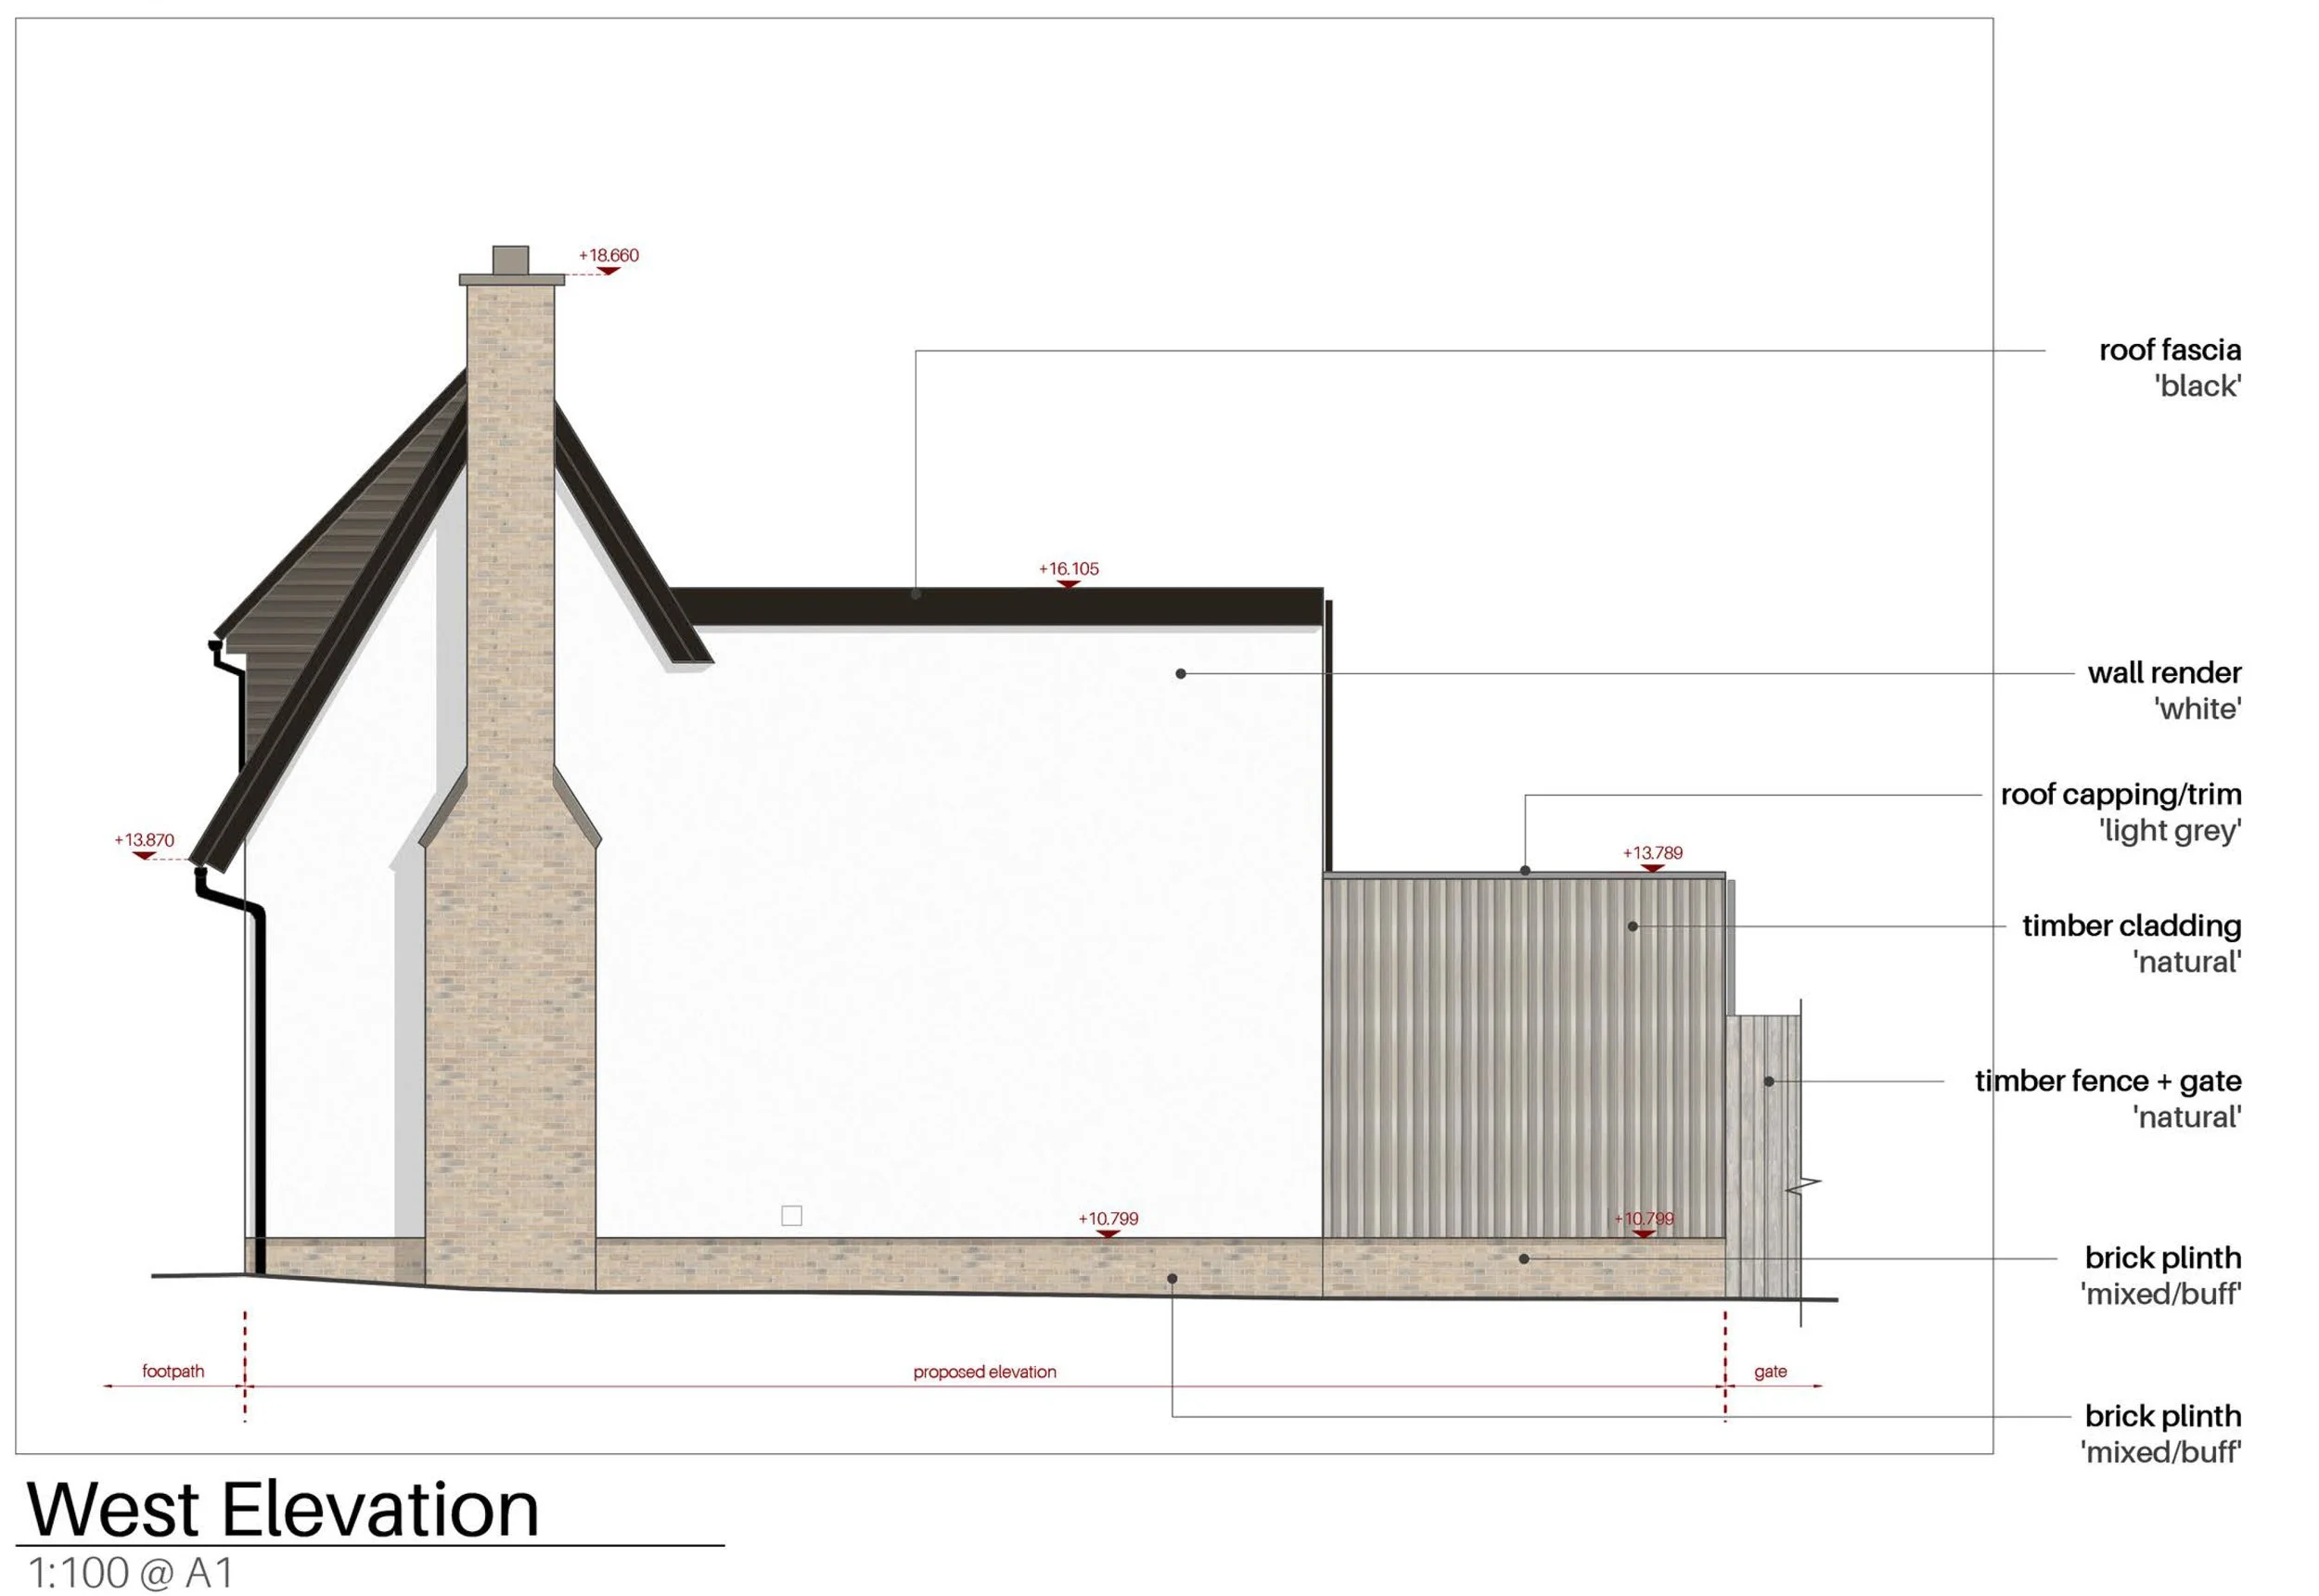
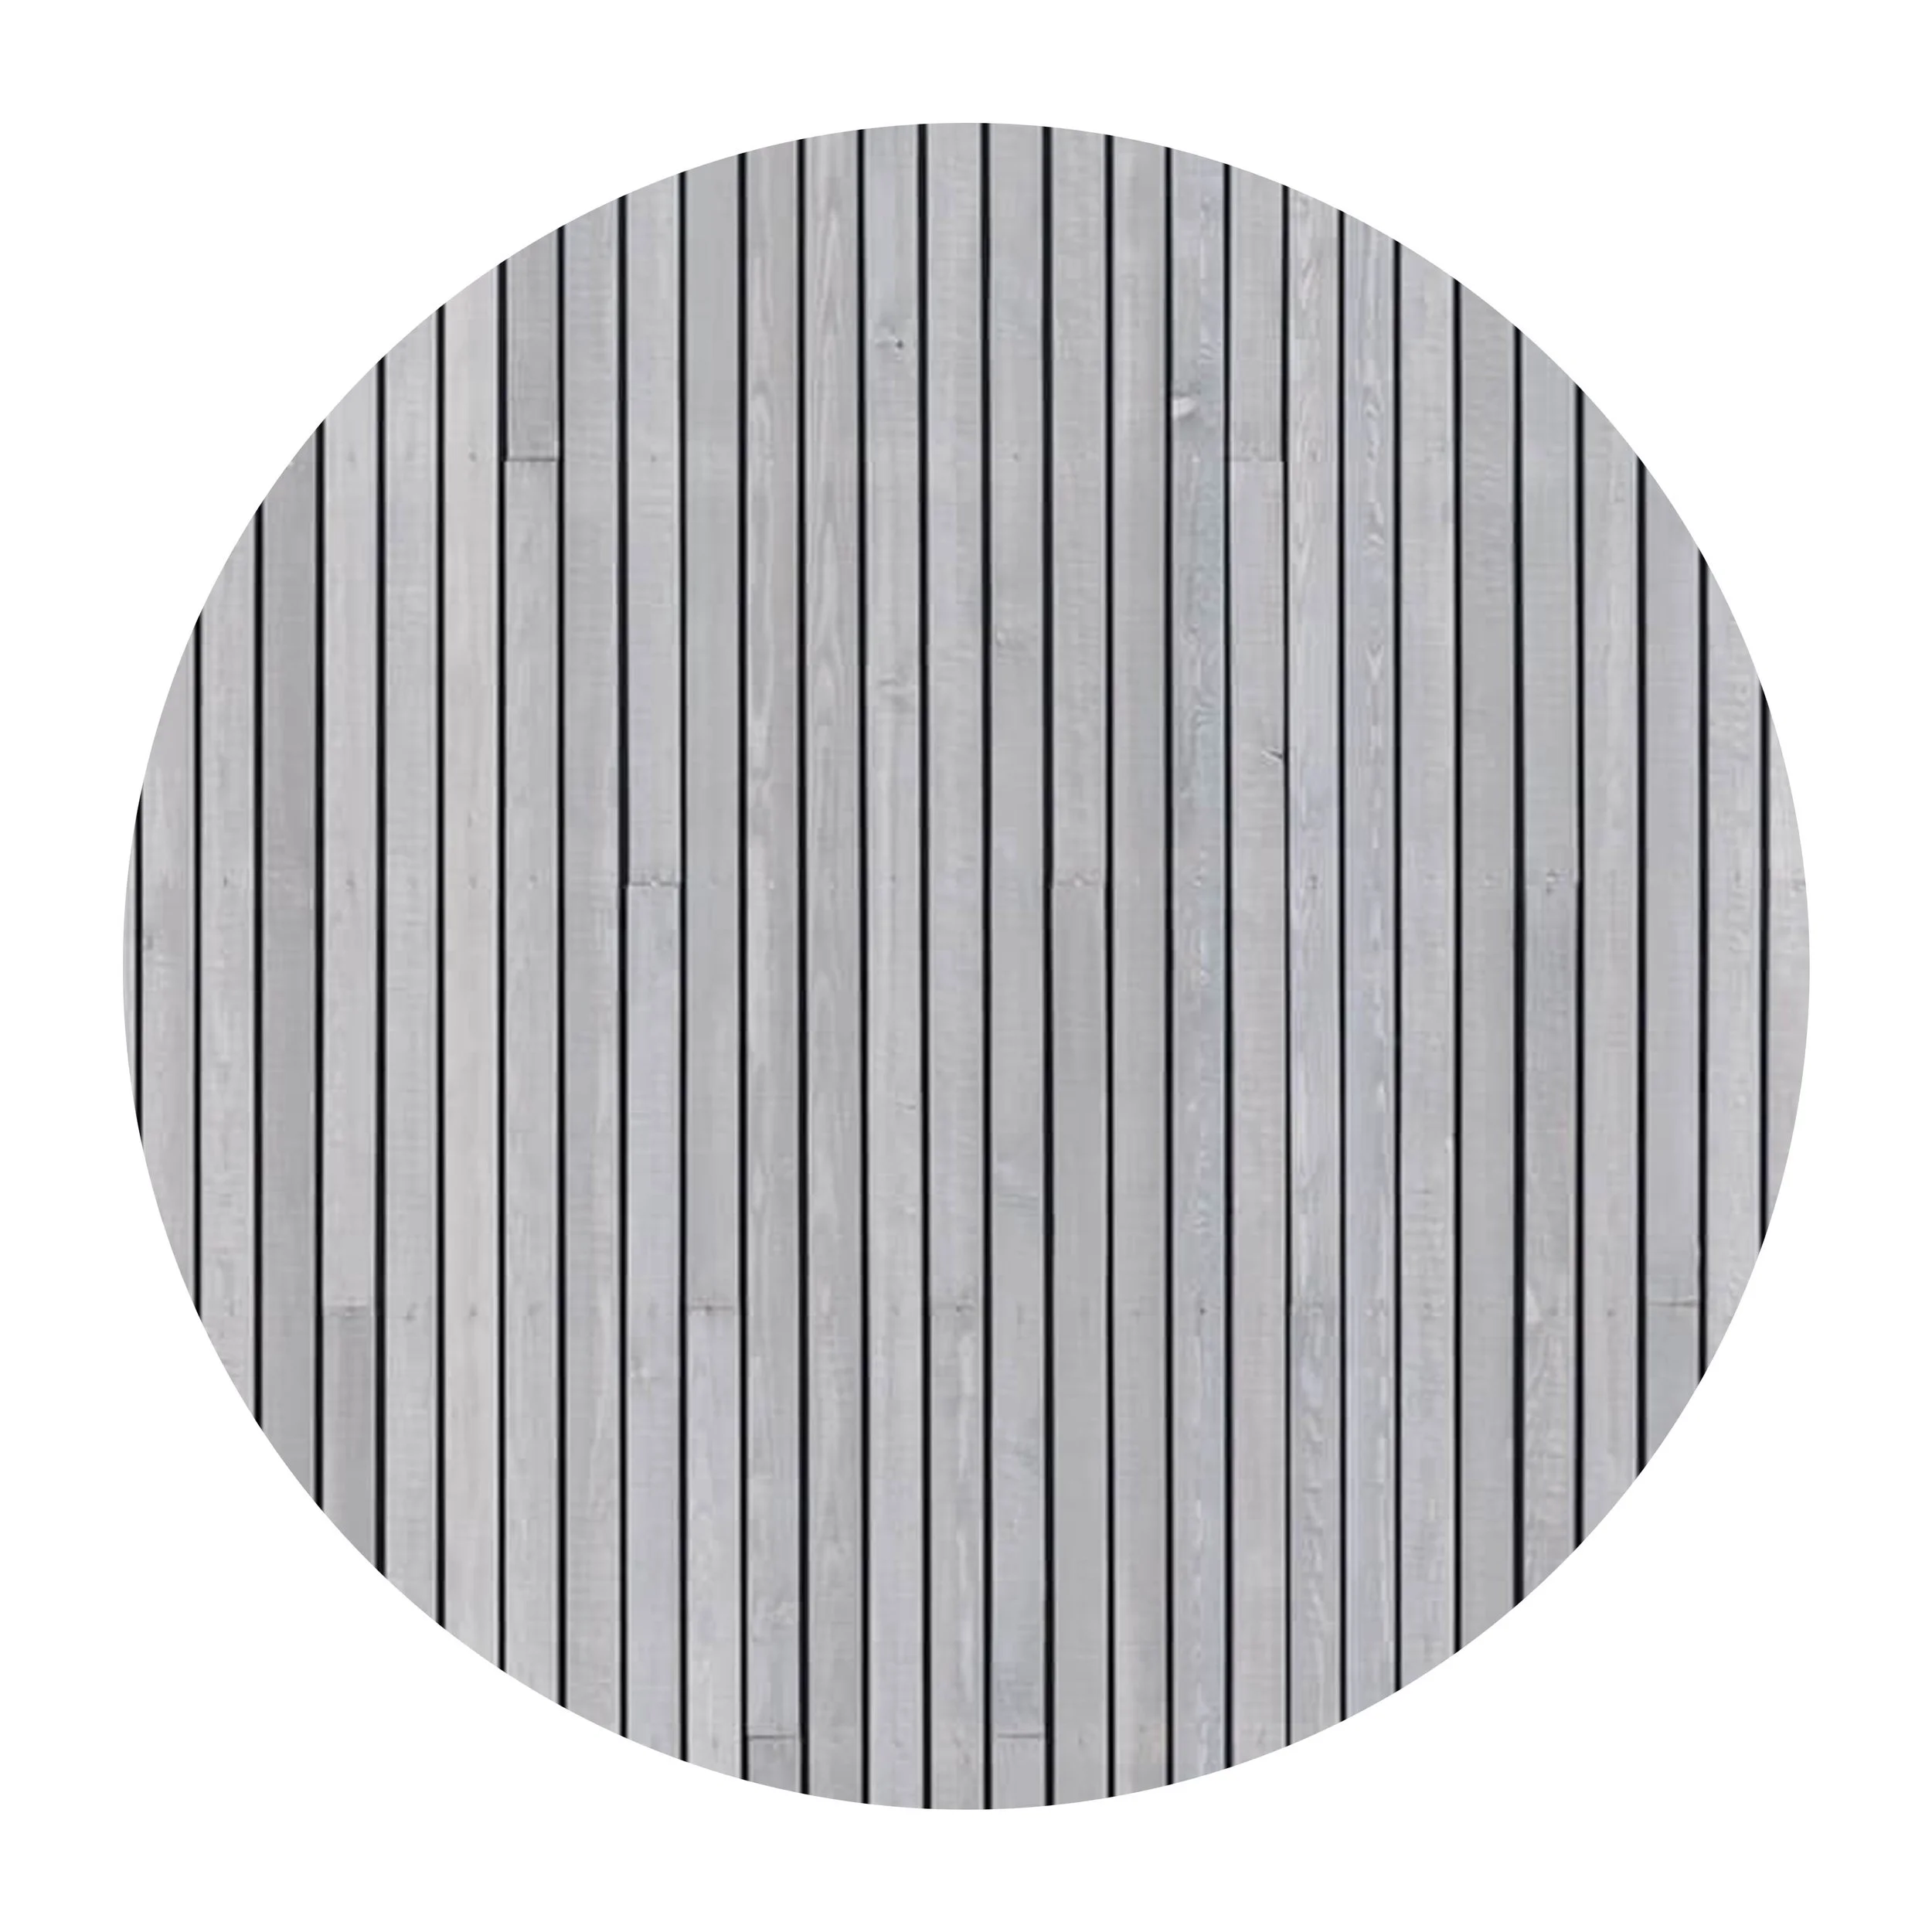
The ground floor extension is clad in slatted timber, which will naturally age to a silvery grey colour, which provides a soft visual separation so that the original white rendered building stands out and maintains the street bookend appearance.
The first floor extension which is stepped back from the ground floor one remains true to the original form principle and aligns with its external material palette (white render, white window frames and black roof trim and rwp’s)
The extension roof has carefully placed rooflights to flood the spaces below with natural daylight, and between these, the roof is finished off with a green sedum roof.
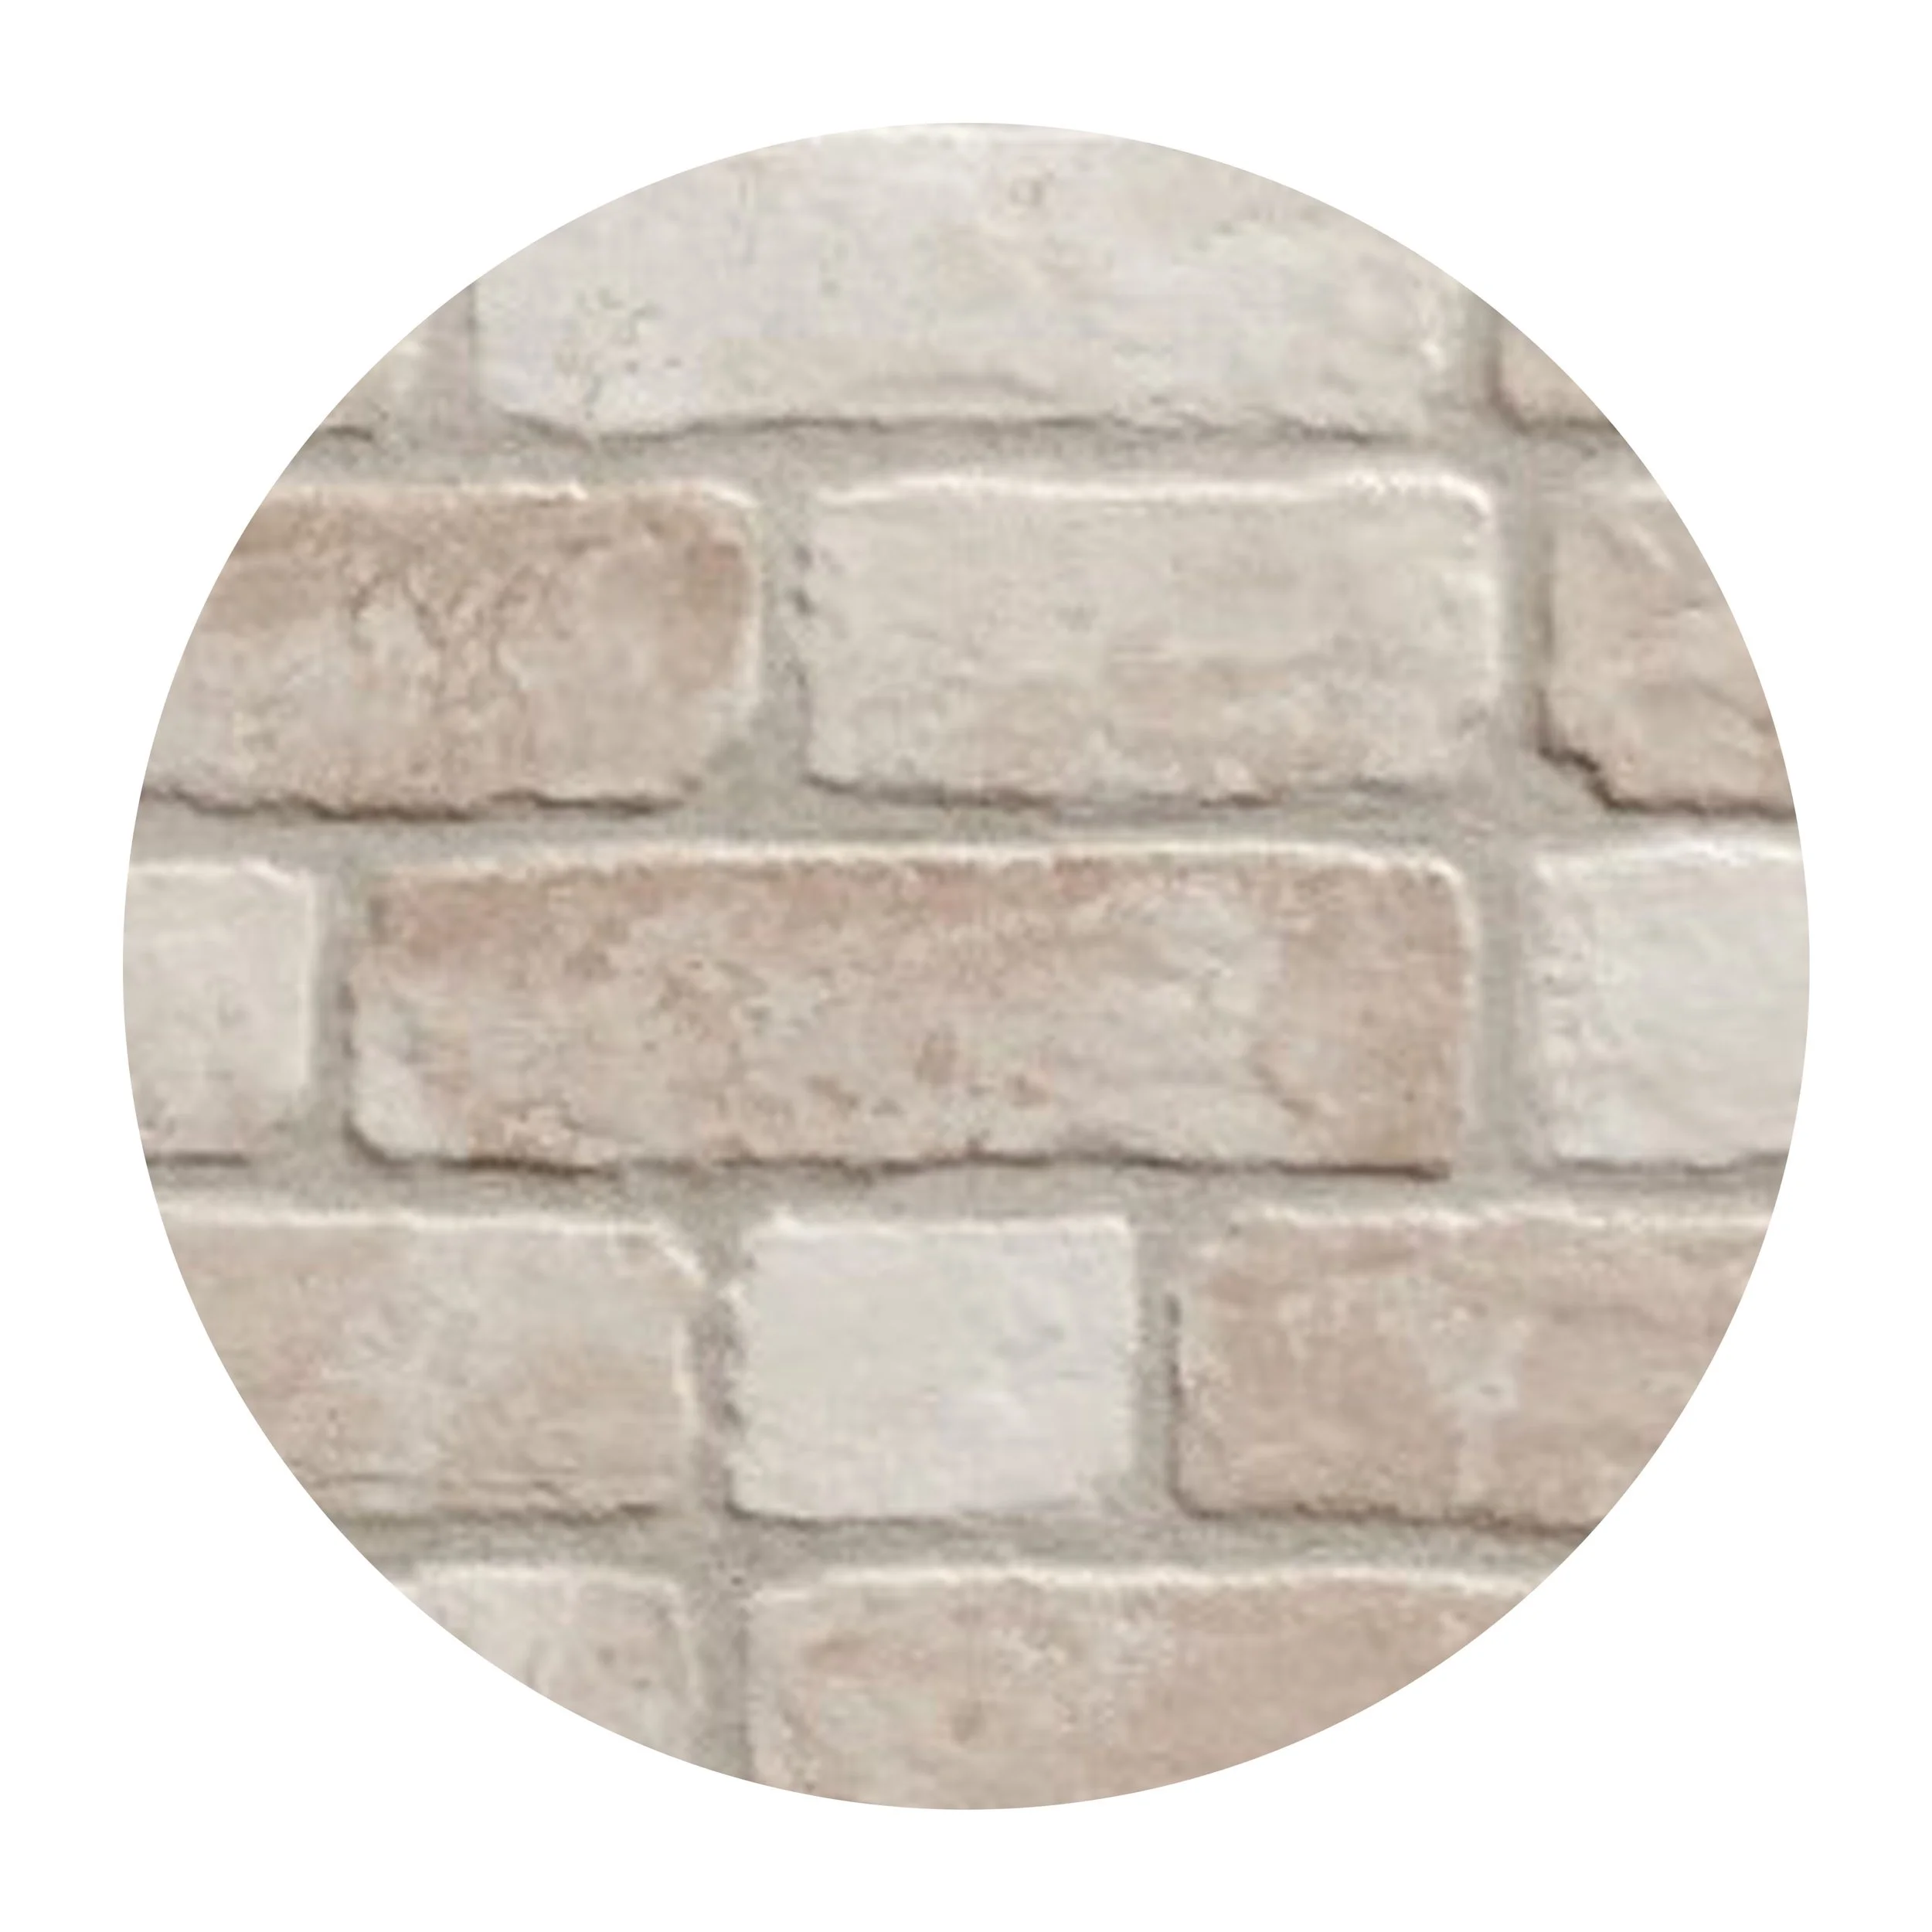
mixed buff brick
light grey details
Material Board
vertical slatted timber
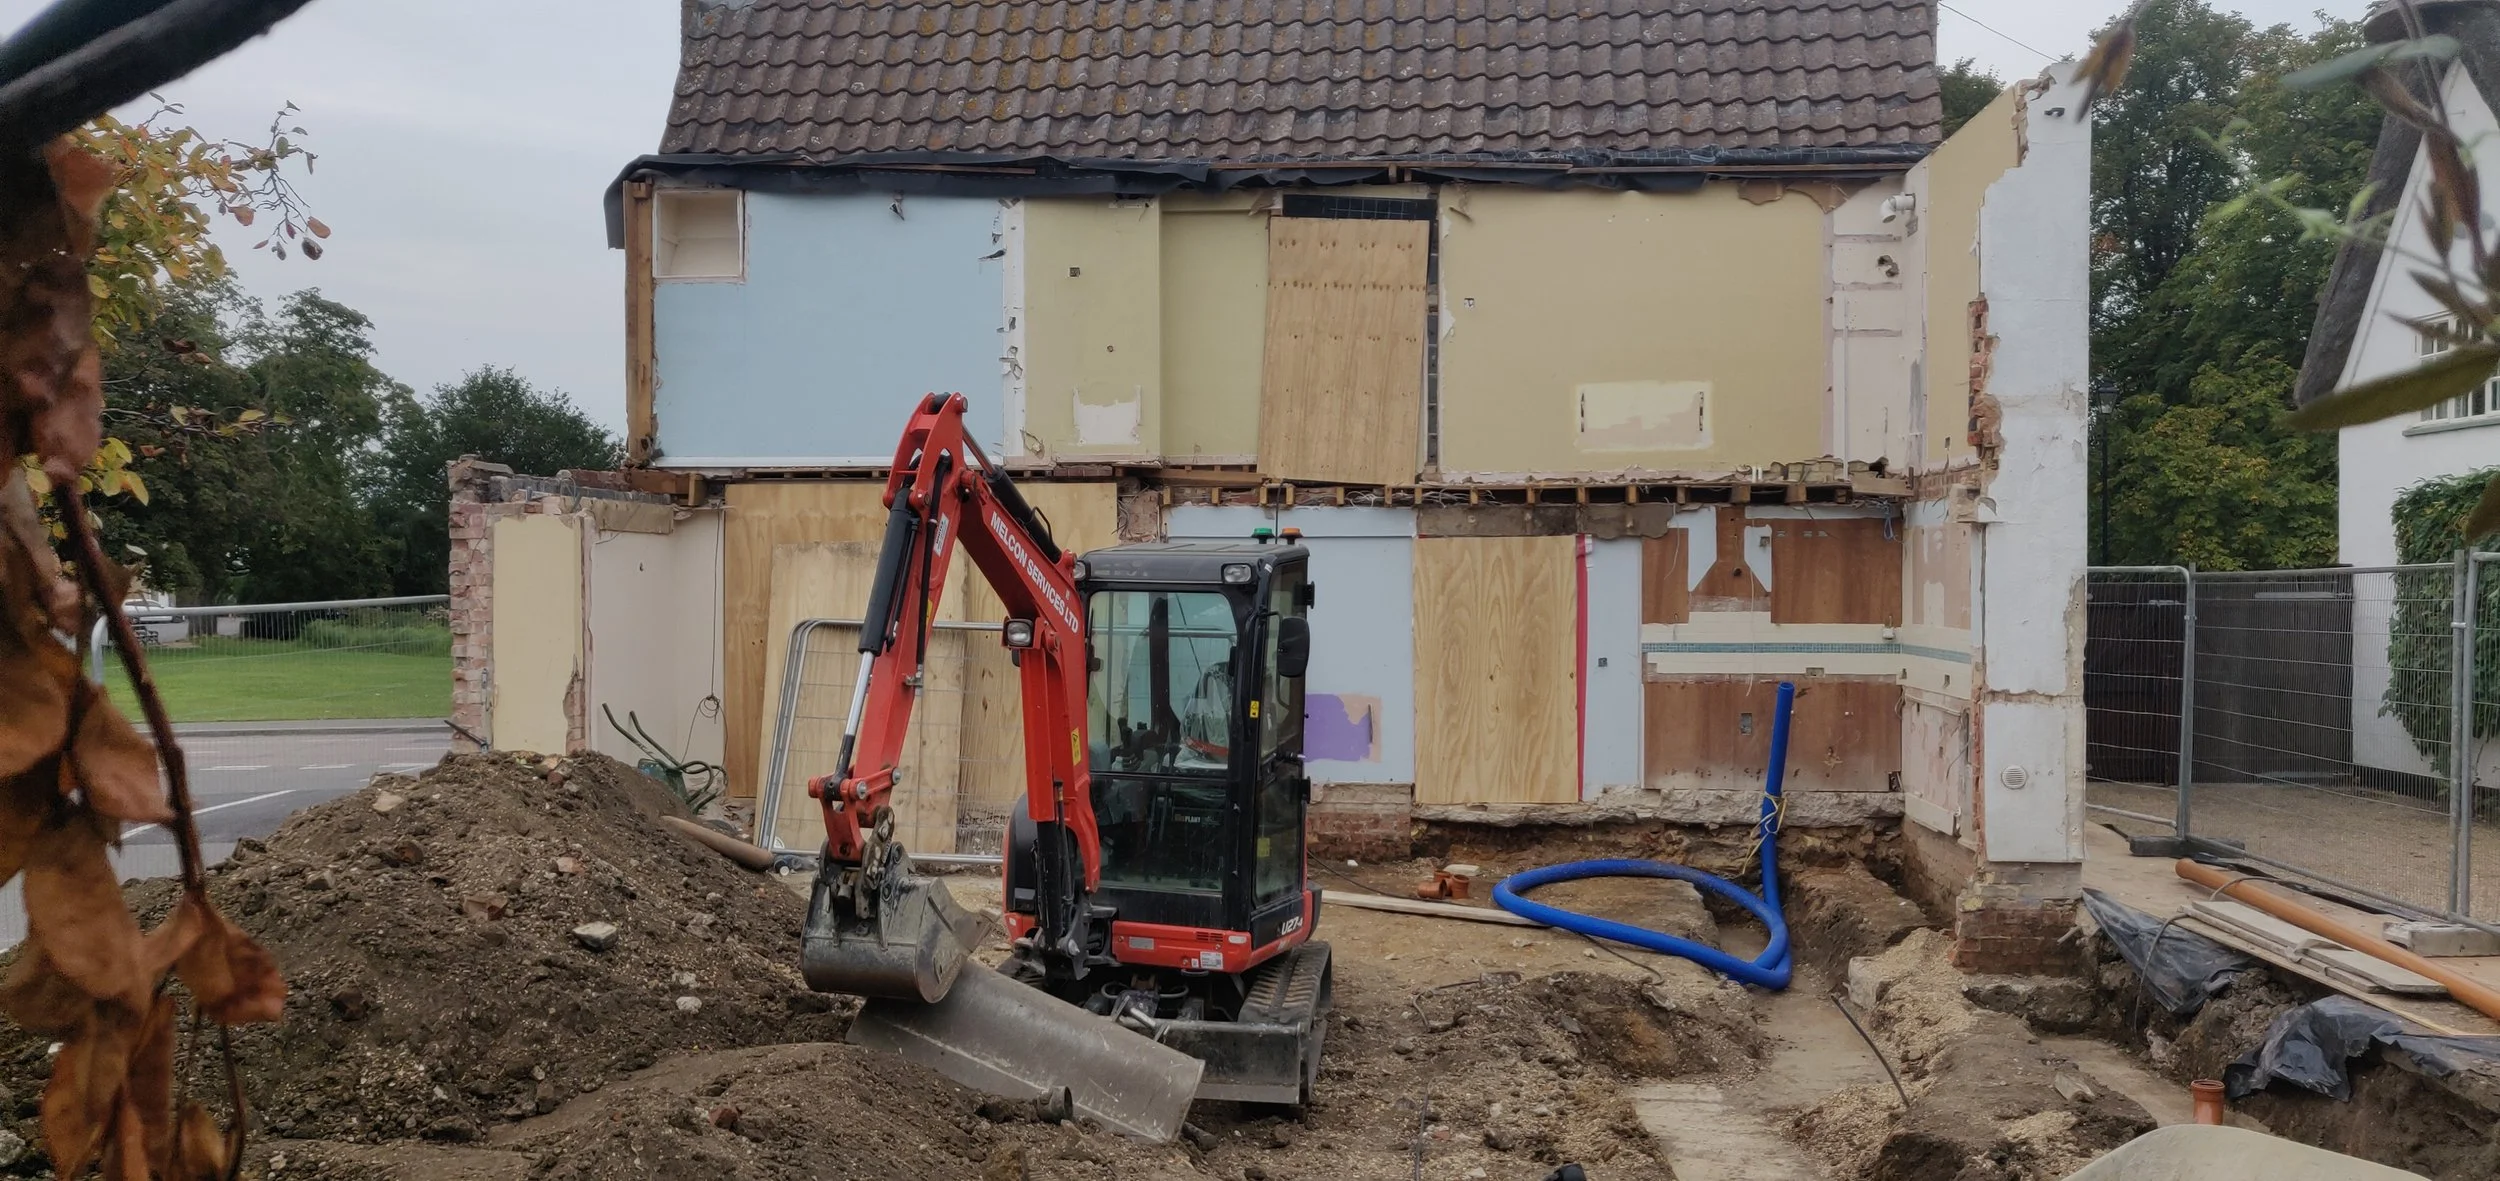
Month 01: Demolition Work
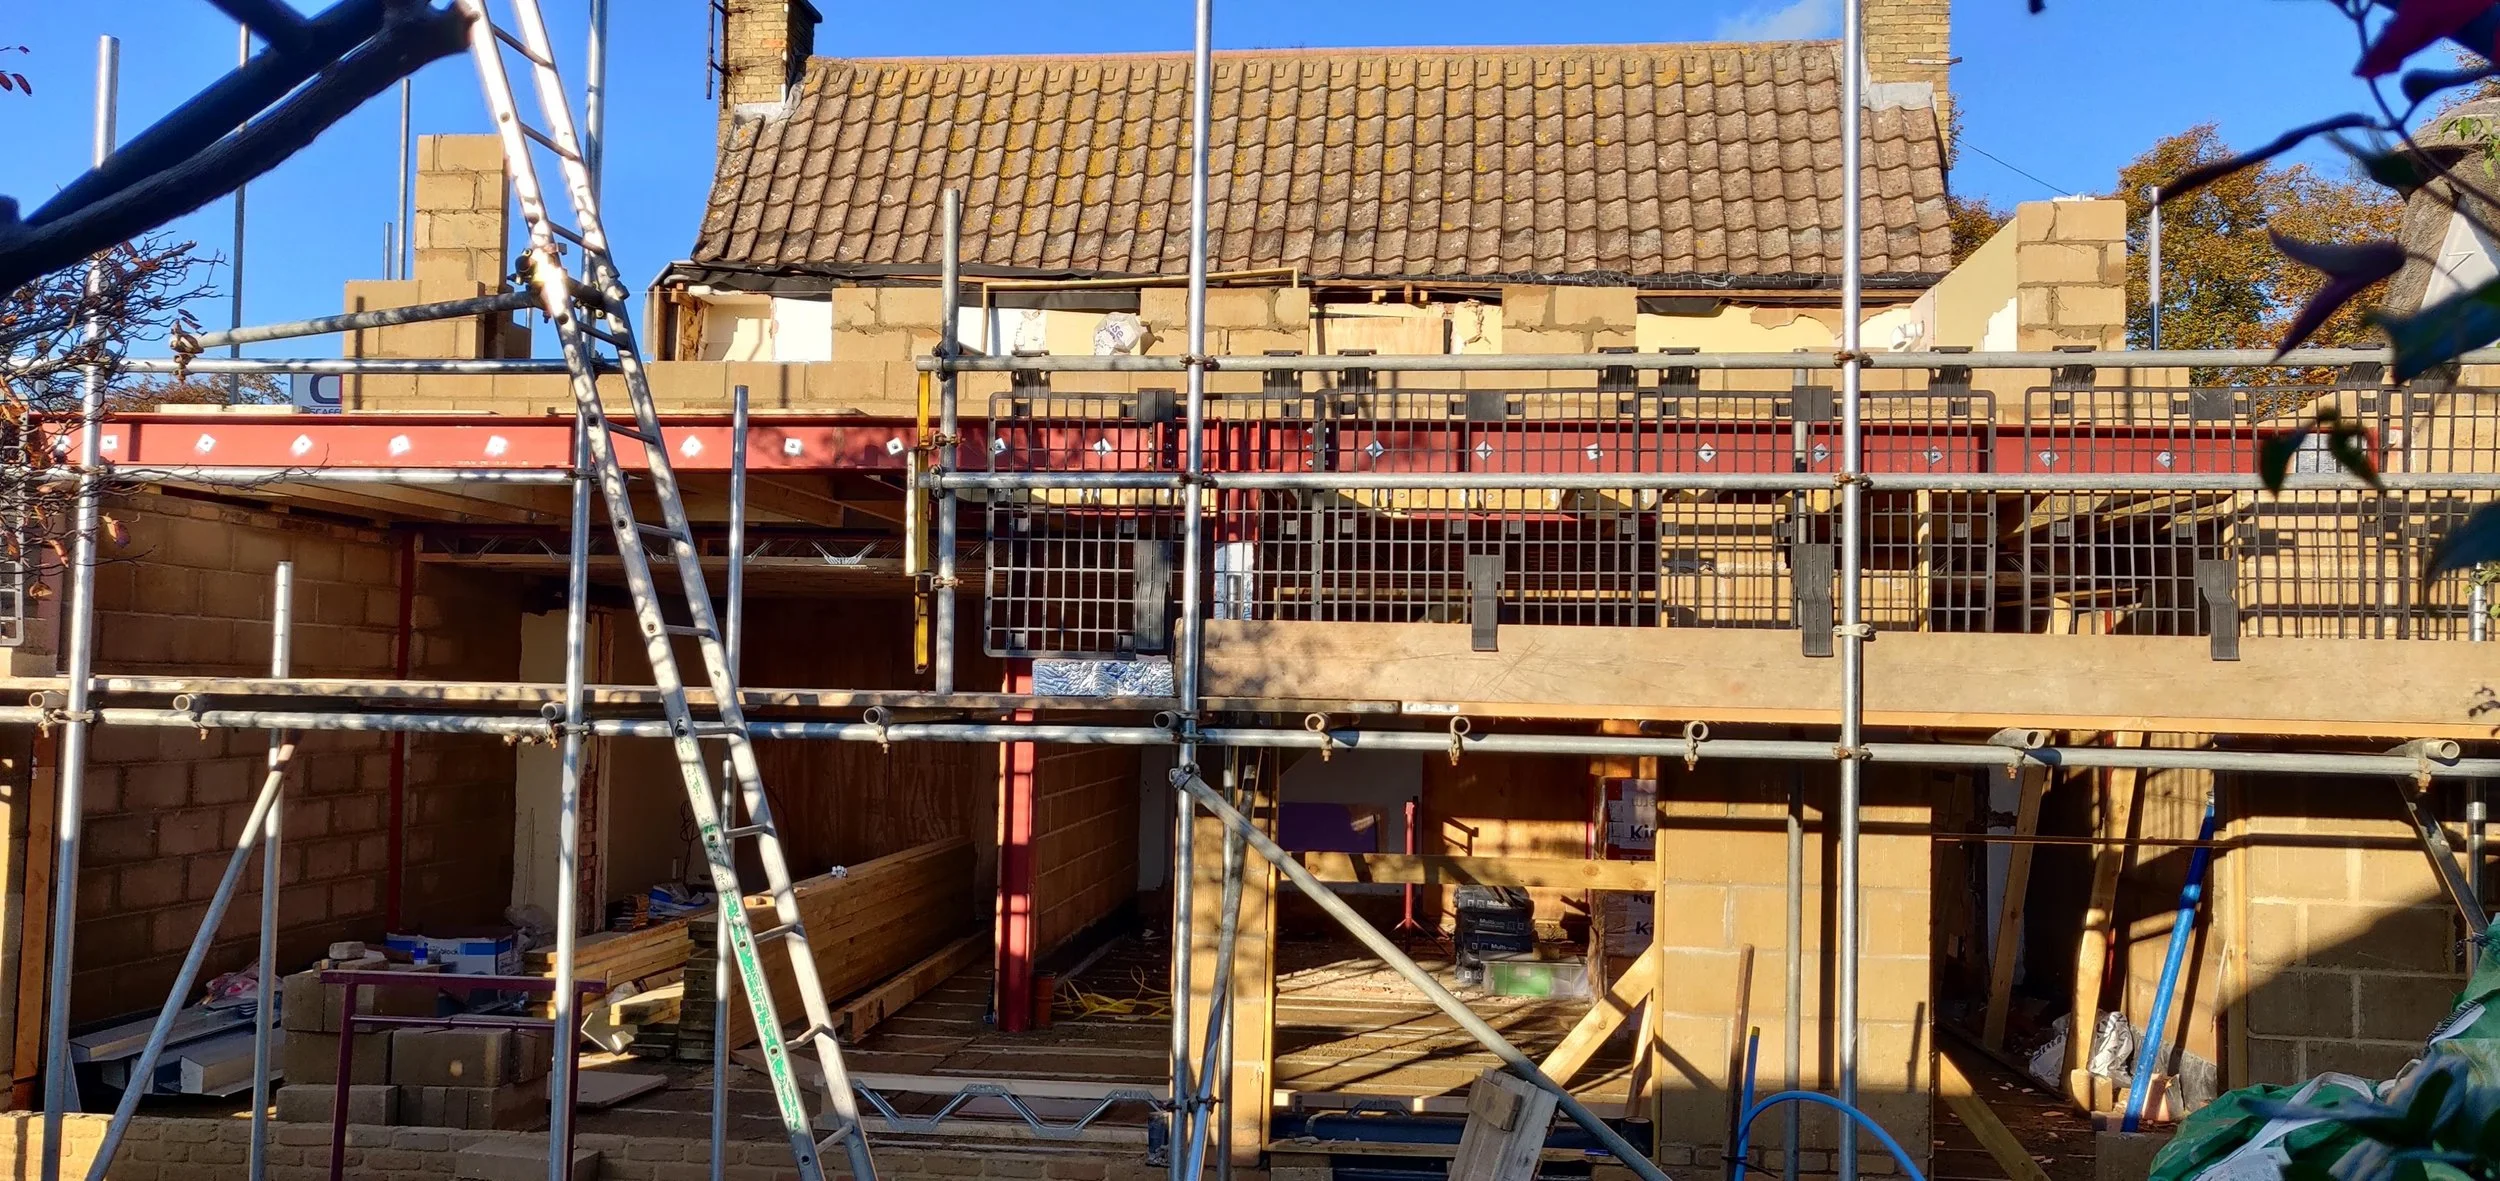
The first month of construction focused on removing unwanted structures, including the cold and damp 1980s single-storey extension and the rear half of the original house. This demolition phase was essential for preparing the site for the upcoming renovations and new construction work.
sedum green roof
white render
CONSTRUCTION OVERVIEW
The 10-month construction project involved various stages to transform the house. It began with demolishing the 1980s single-storey rear extension and part of the house to create larger bedrooms and an ensuite. Due to poor soil quality, deep foundations with beam and block flooring and waterproofing were laid, as the site is in a level 2 flood risk area. The construction progressed with the erection of external walls, roof, and large steel beams for open-plan areas. Once watertight with windows and doors installed, internal works began. The project concluded with the application of insulated render and timber cladding, along with detailed timber surrounds for windows and doors. The result is a bright, spacious, open-plan home that meets the clients' lifestyle and needs.
Month 02-03: Foundation and Structural Work
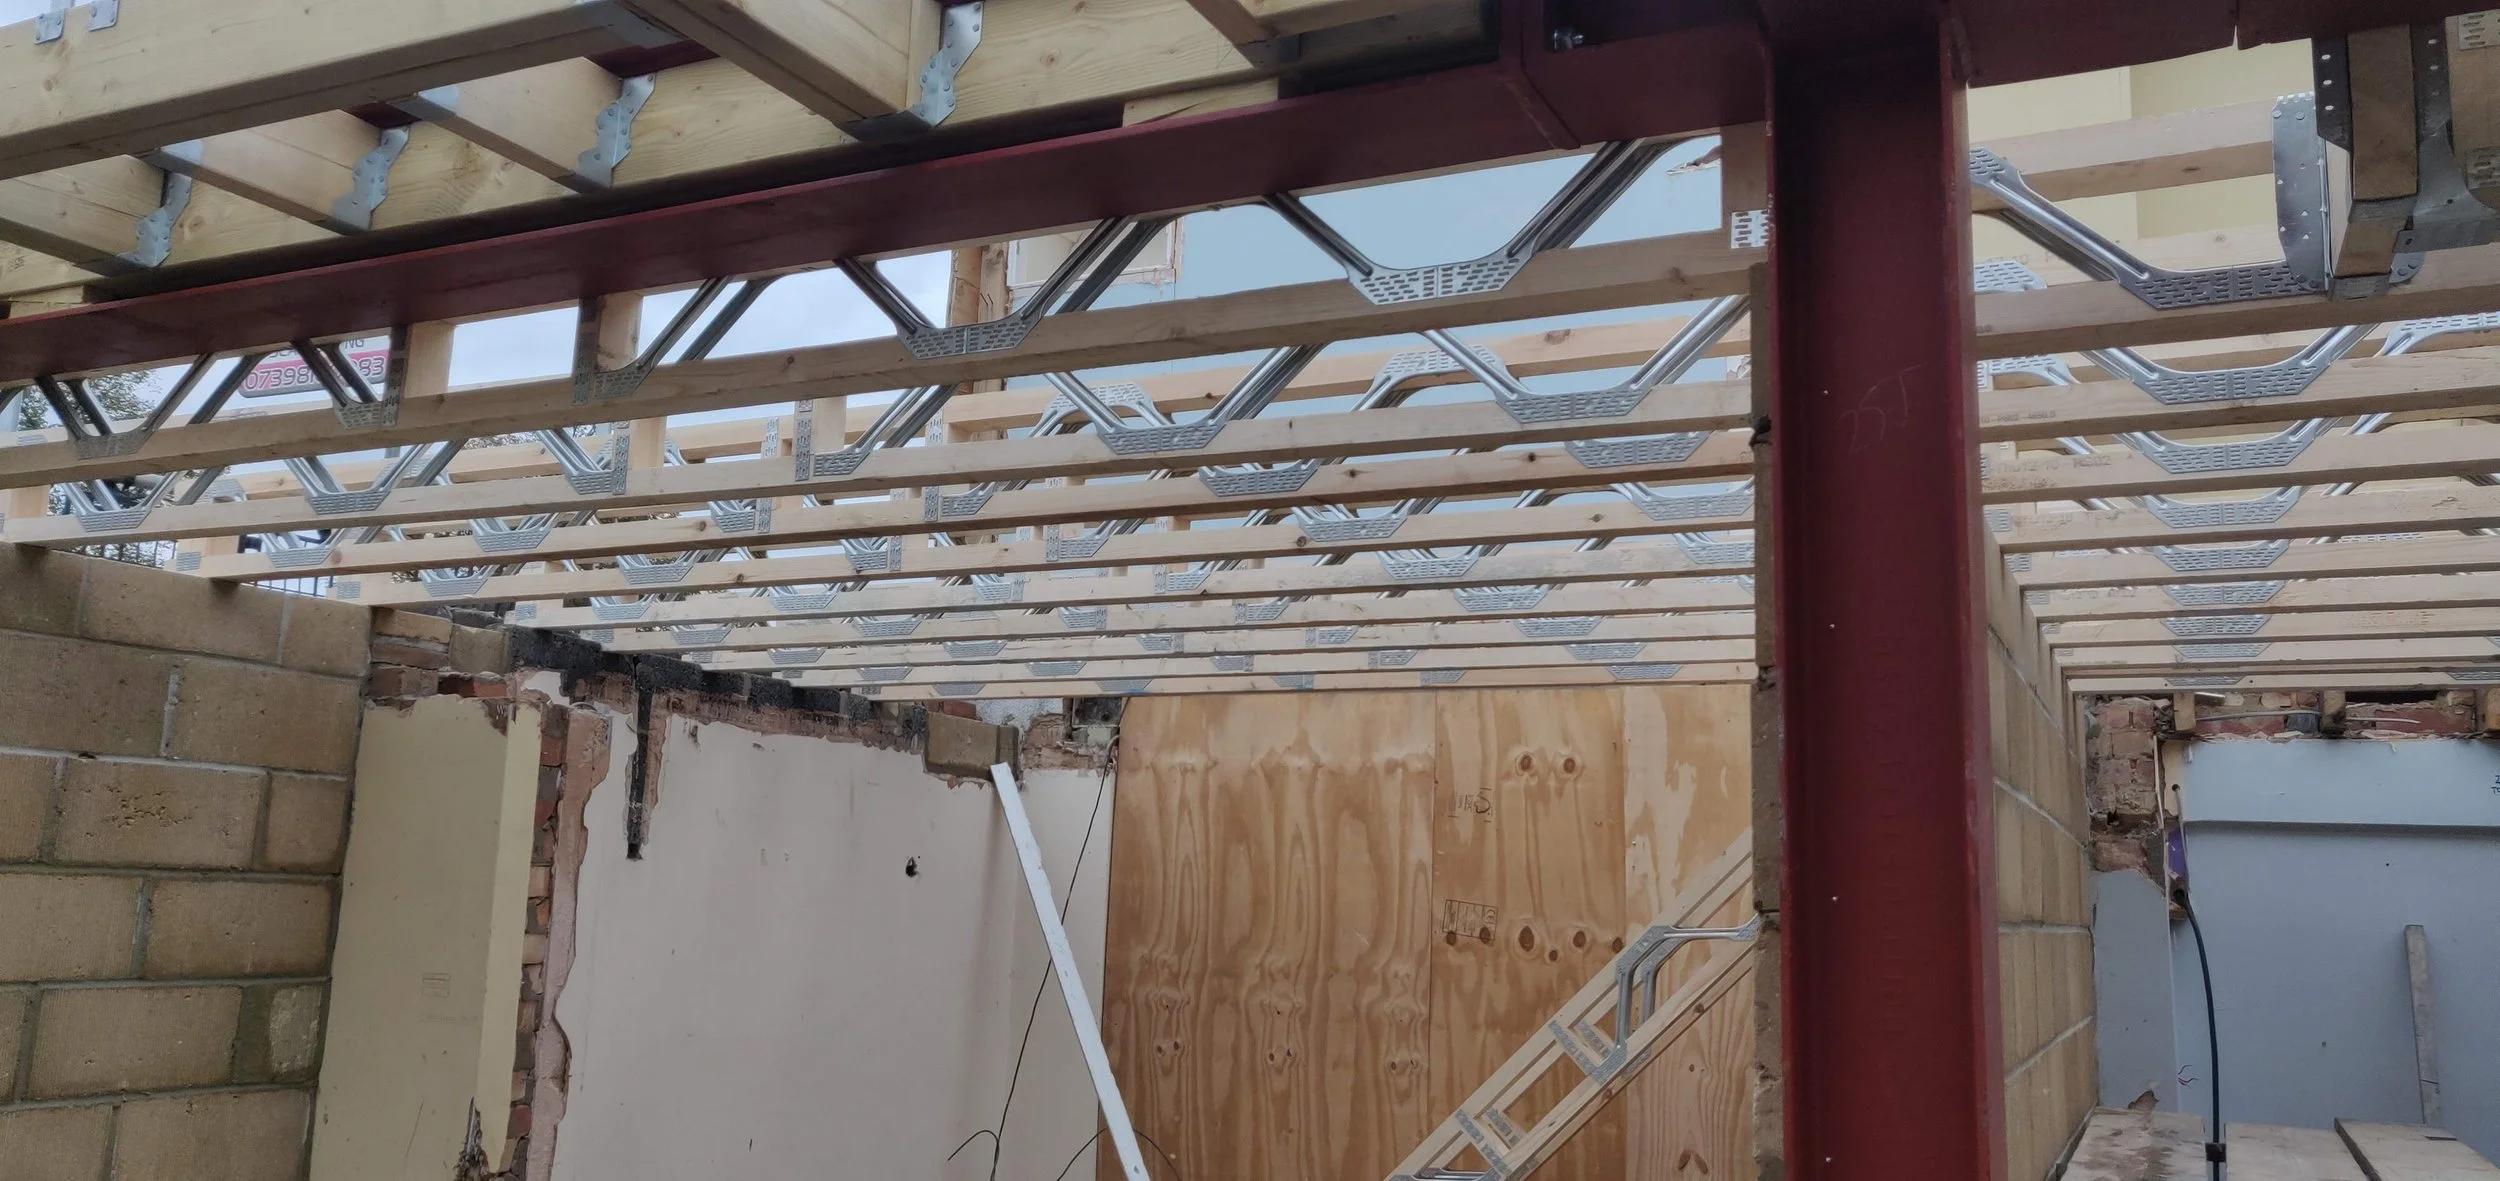
During the second and third months, the focus shifted to digging deep foundations to address the poor soil quality. These foundations supported the beam and block floor and the new external cavity-filled blockwork walls. Additionally, a steel structural frame was erected to provide support for the open-plan living spaces and accommodate three large, purposefully located and shaped rooflights.
Month 04: Achieving Water Tightness
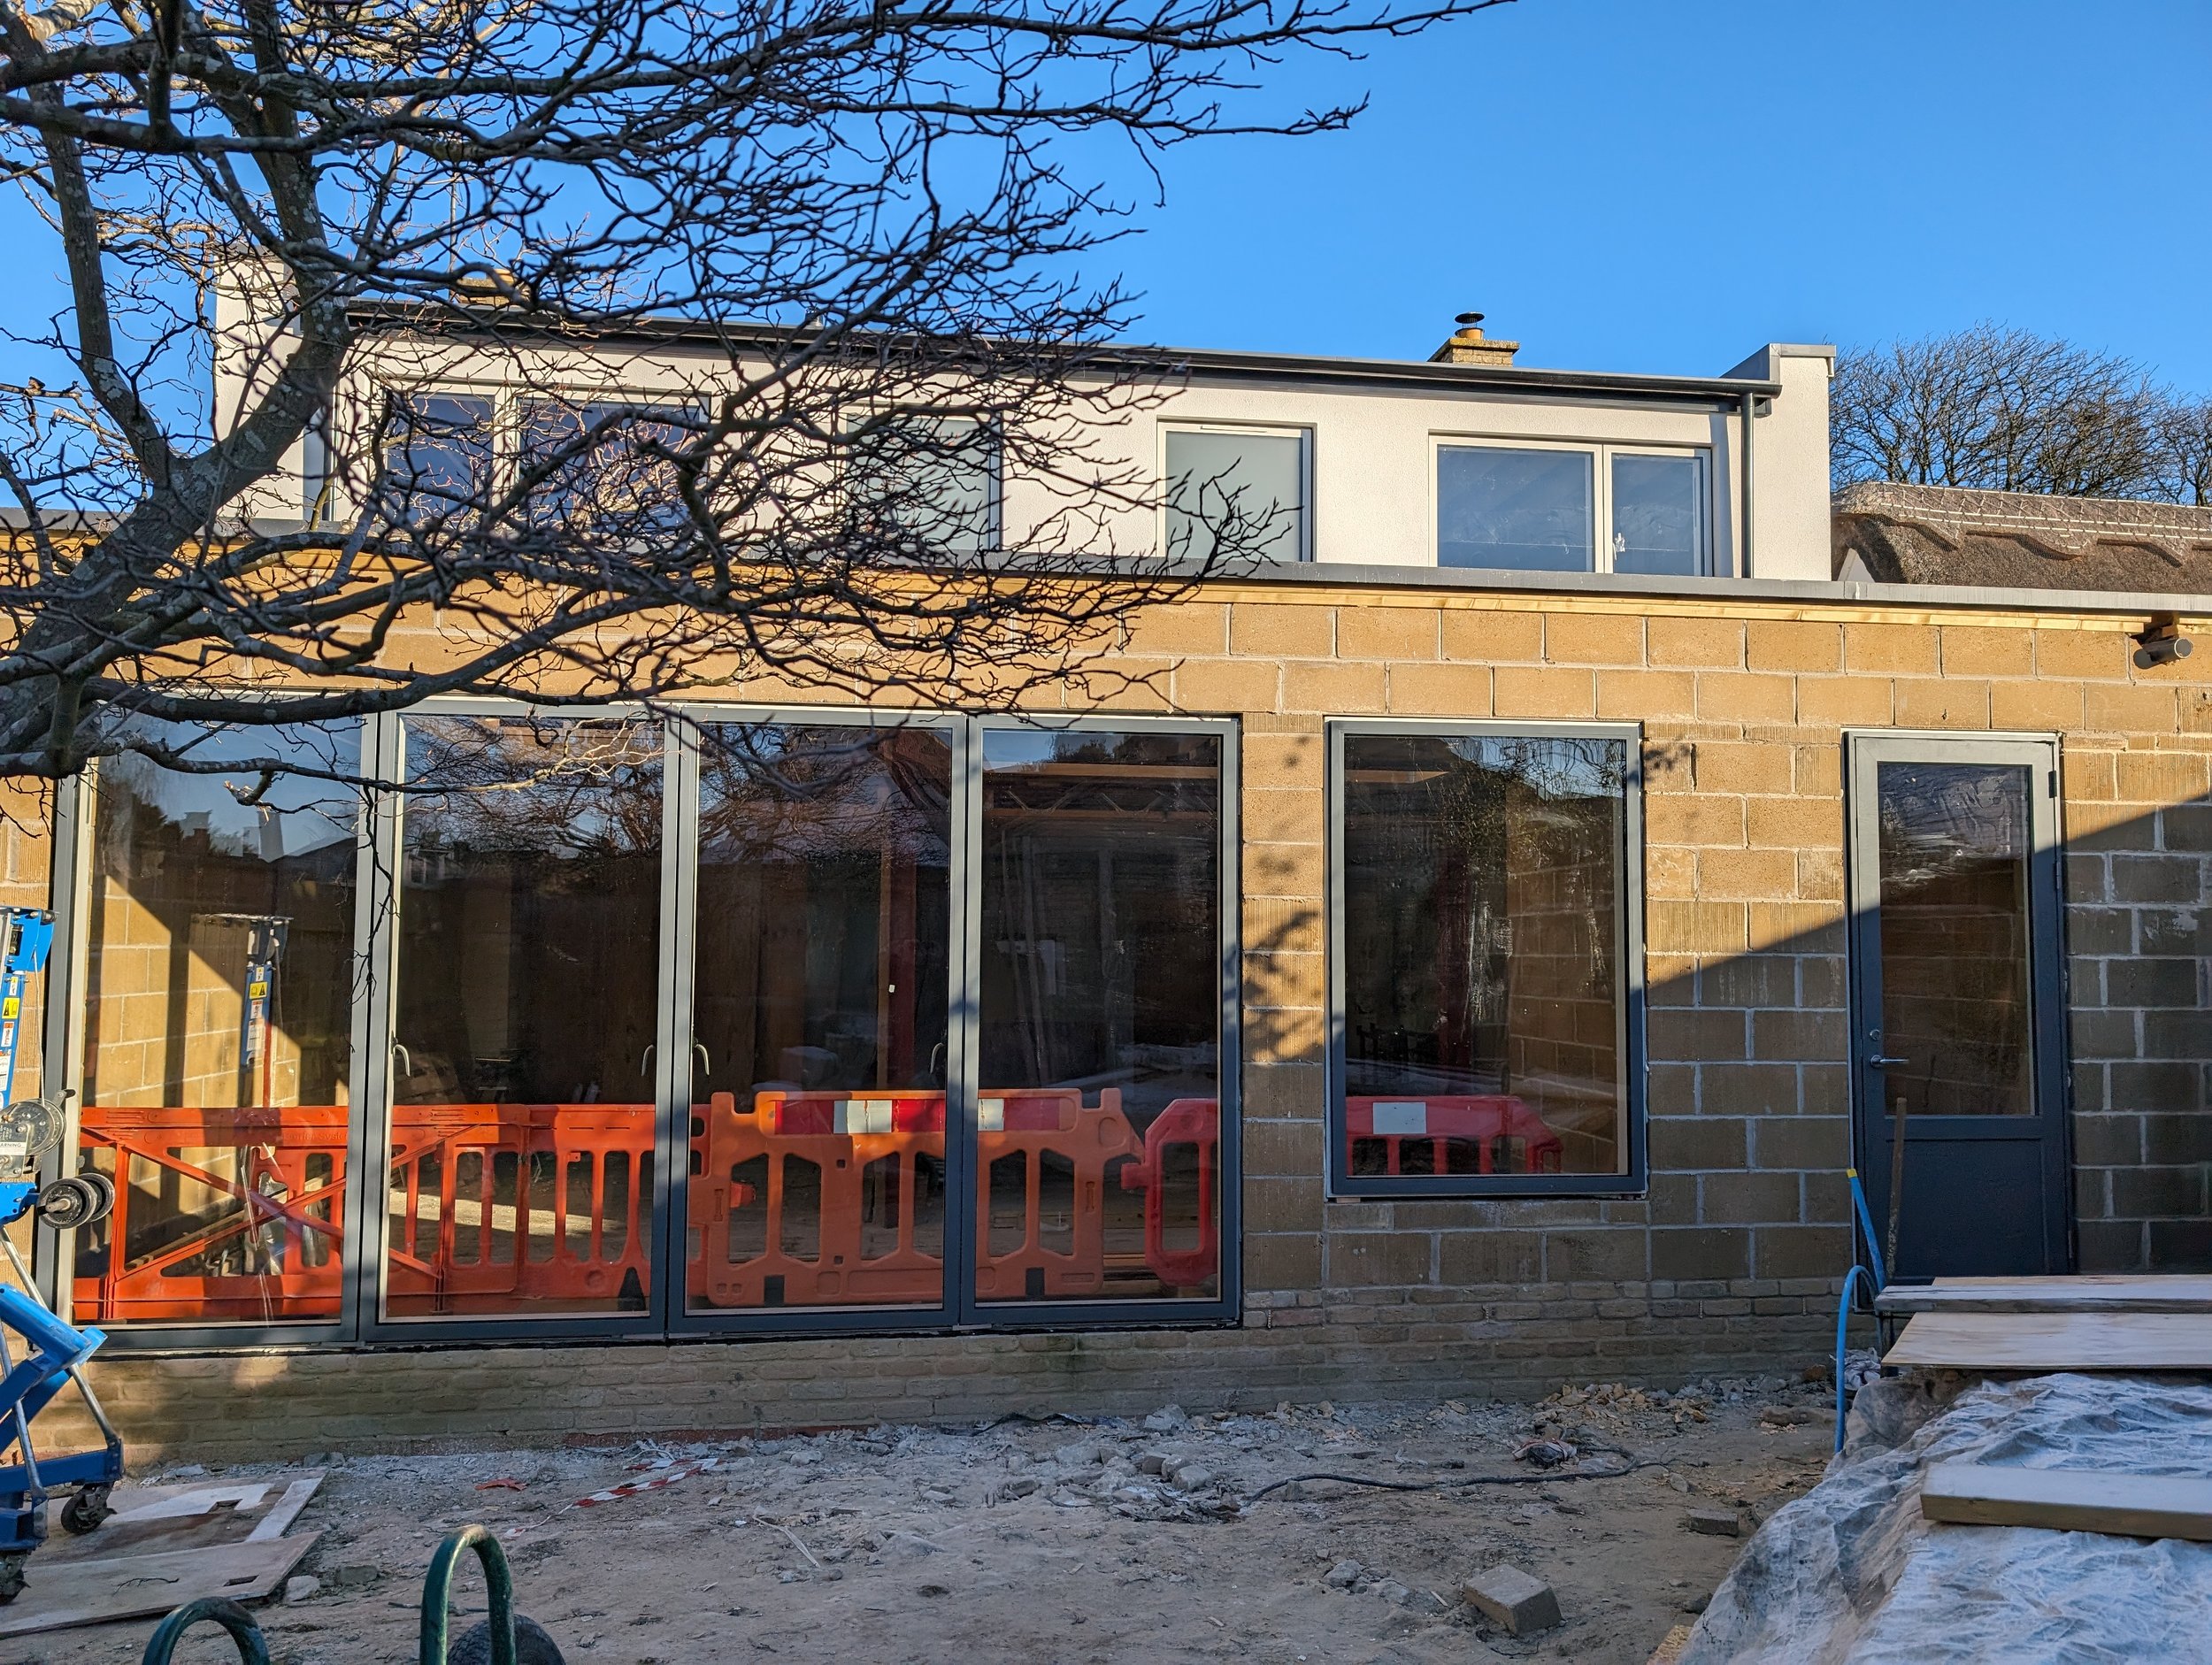
The primary goal for Month 04 was to ensure the building was watertight. This was accomplished by installing new windows, doors, and rooflights, along with completing the single-ply insulated flat roofs on both the lower and upper levels. With the structure now protected from the elements, work on the internal stud walls could commence, setting the stage for further interior development.
Month 05: Rapid Internal and External Progress
With the building now watertight, internal work progressed swiftly. First fix electrical and plumbing routing was efficiently done through the studwork and web joists of the first floor. Favorable weather conditions facilitated quick progress externally as well, allowing the application of external render and the beginning of timber cladding on the single-storey extension. This month marked significant advancements both inside and out, pushing the project closer to completion.
Month 06: Electrical, Mechanical, and Flooring Advances
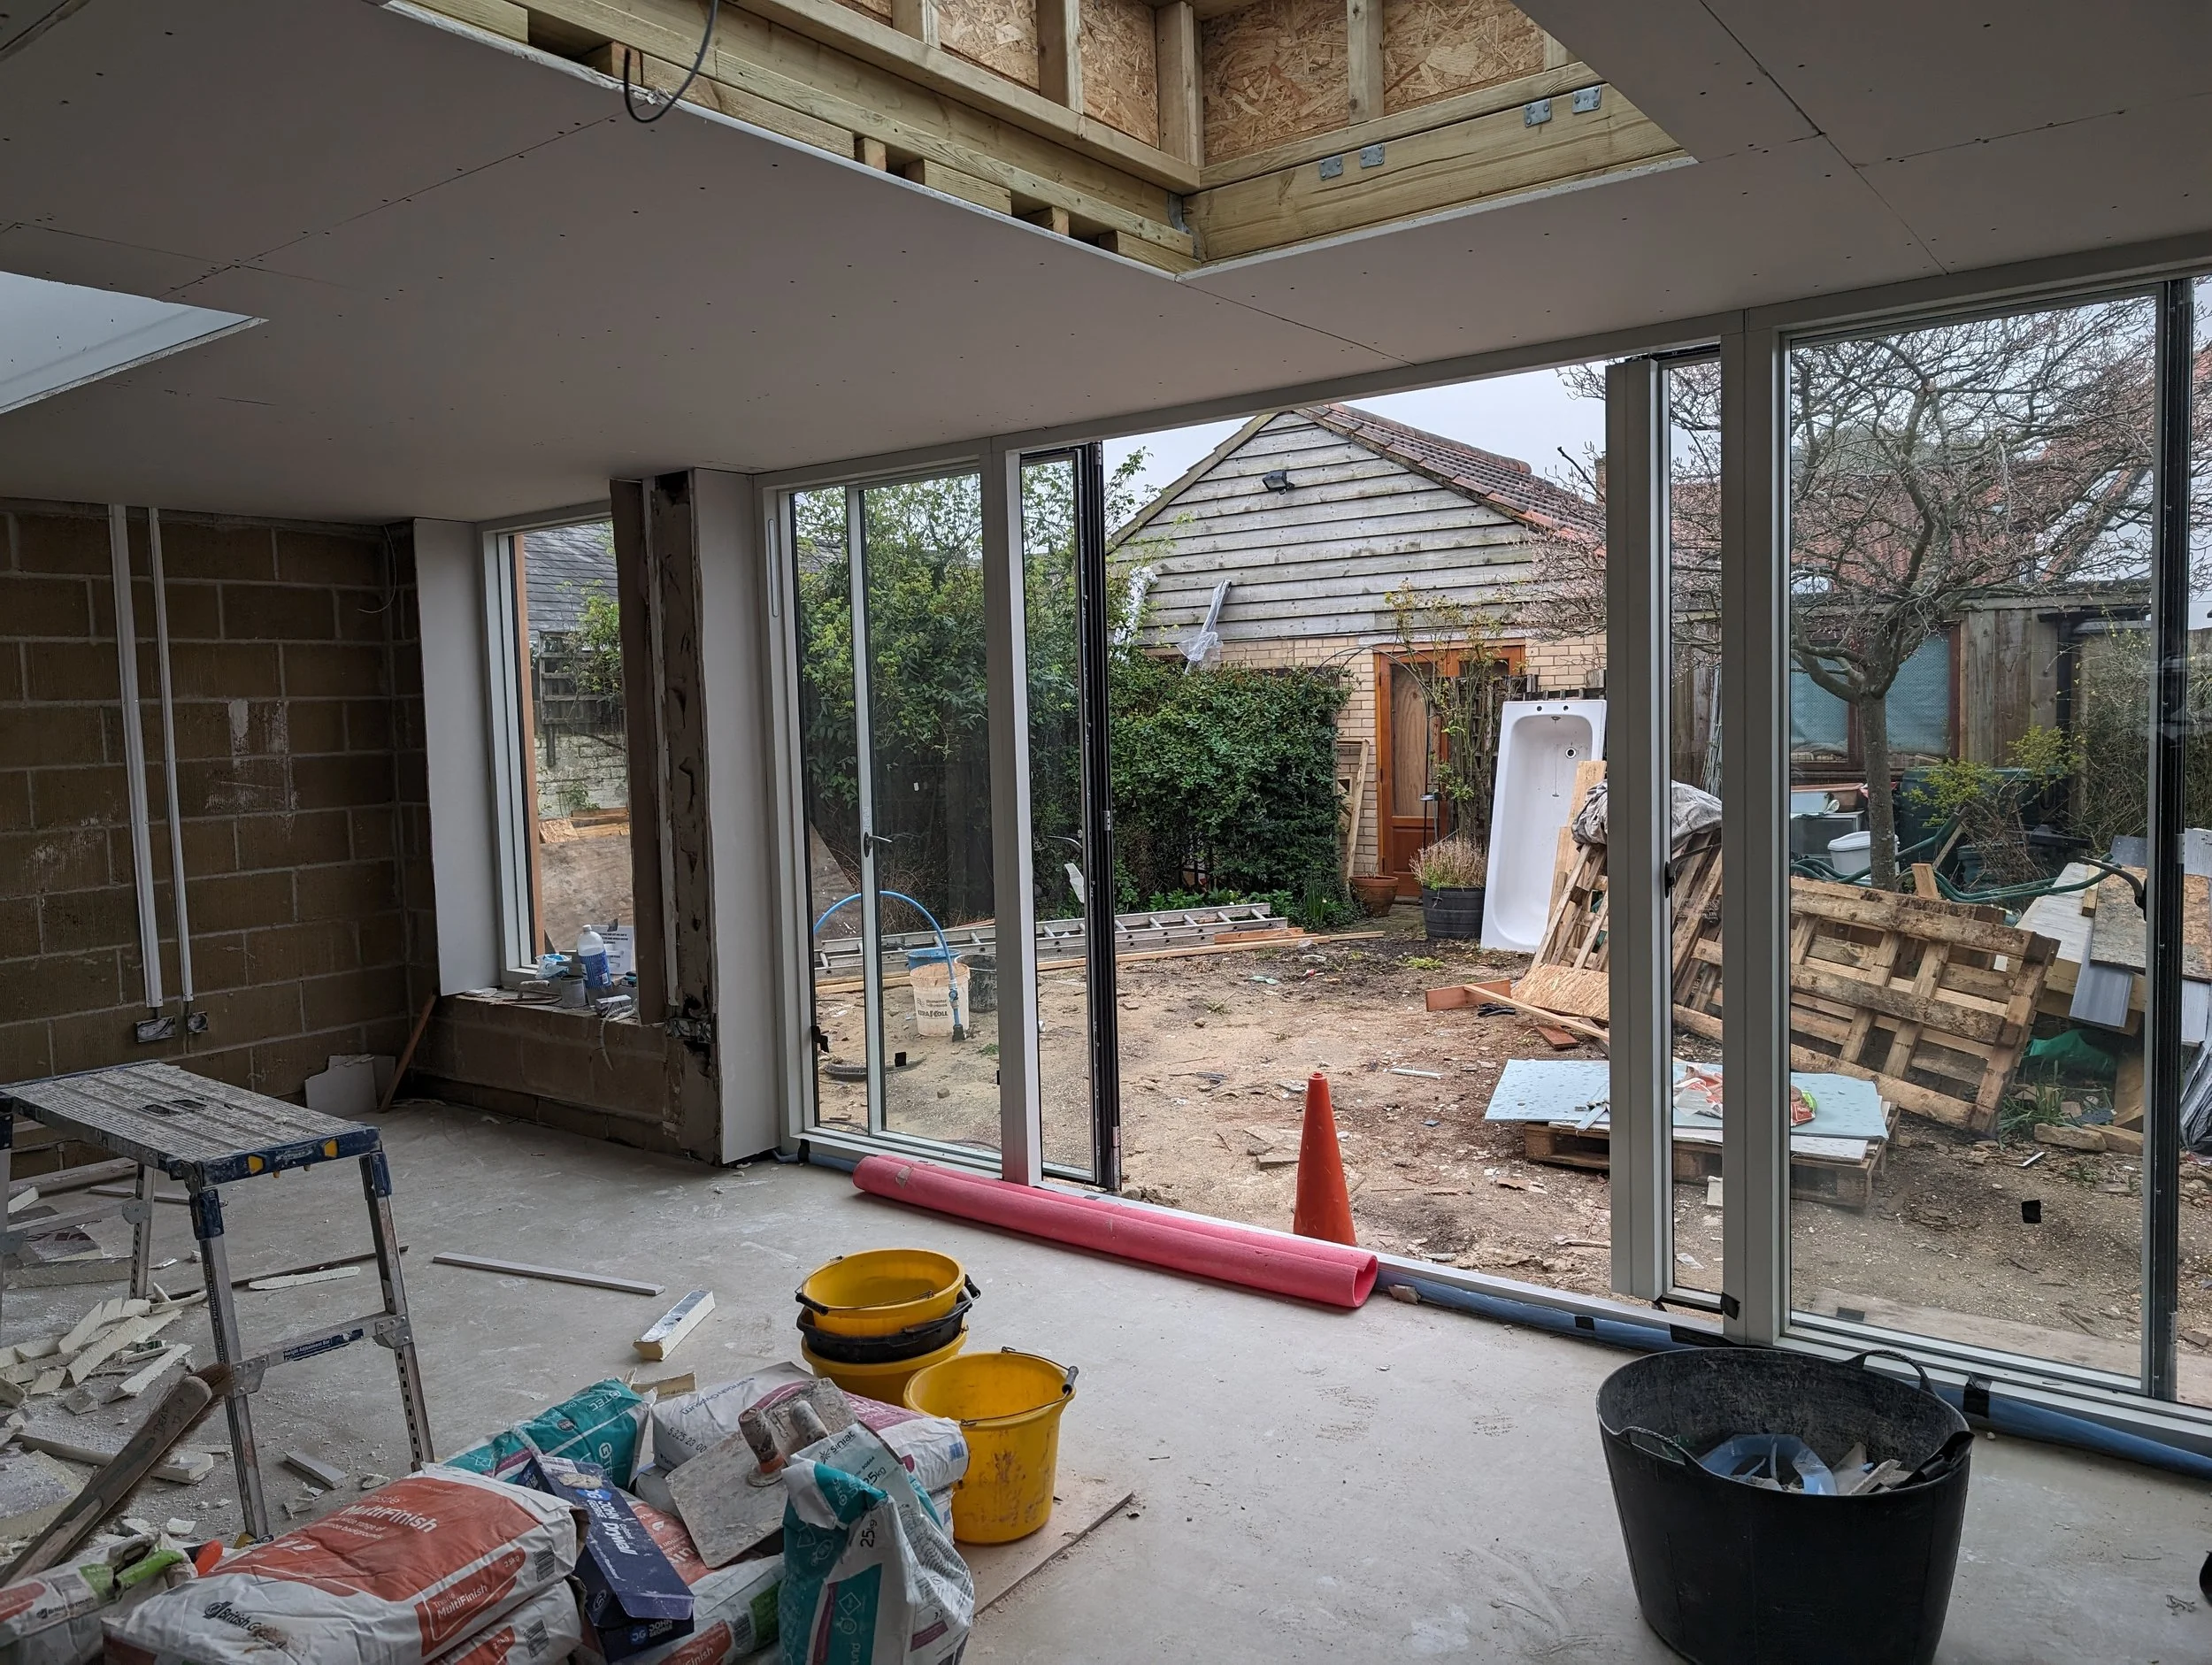
Building on the momentum from the previous month, electrical and mechanical installations continued. Underfloor heating pipework was laid out, followed by pouring the floor screed. Once the flooring was set, plasterboard lining was installed on walls and ceilings. This month saw crucial advancements in creating a comfortable and functional living space, setting the stage for wall and floor finishes second fix.
Month 07-08: Installing Kitchen Units, Bathroom Fittings, and Custom Floor Tiling
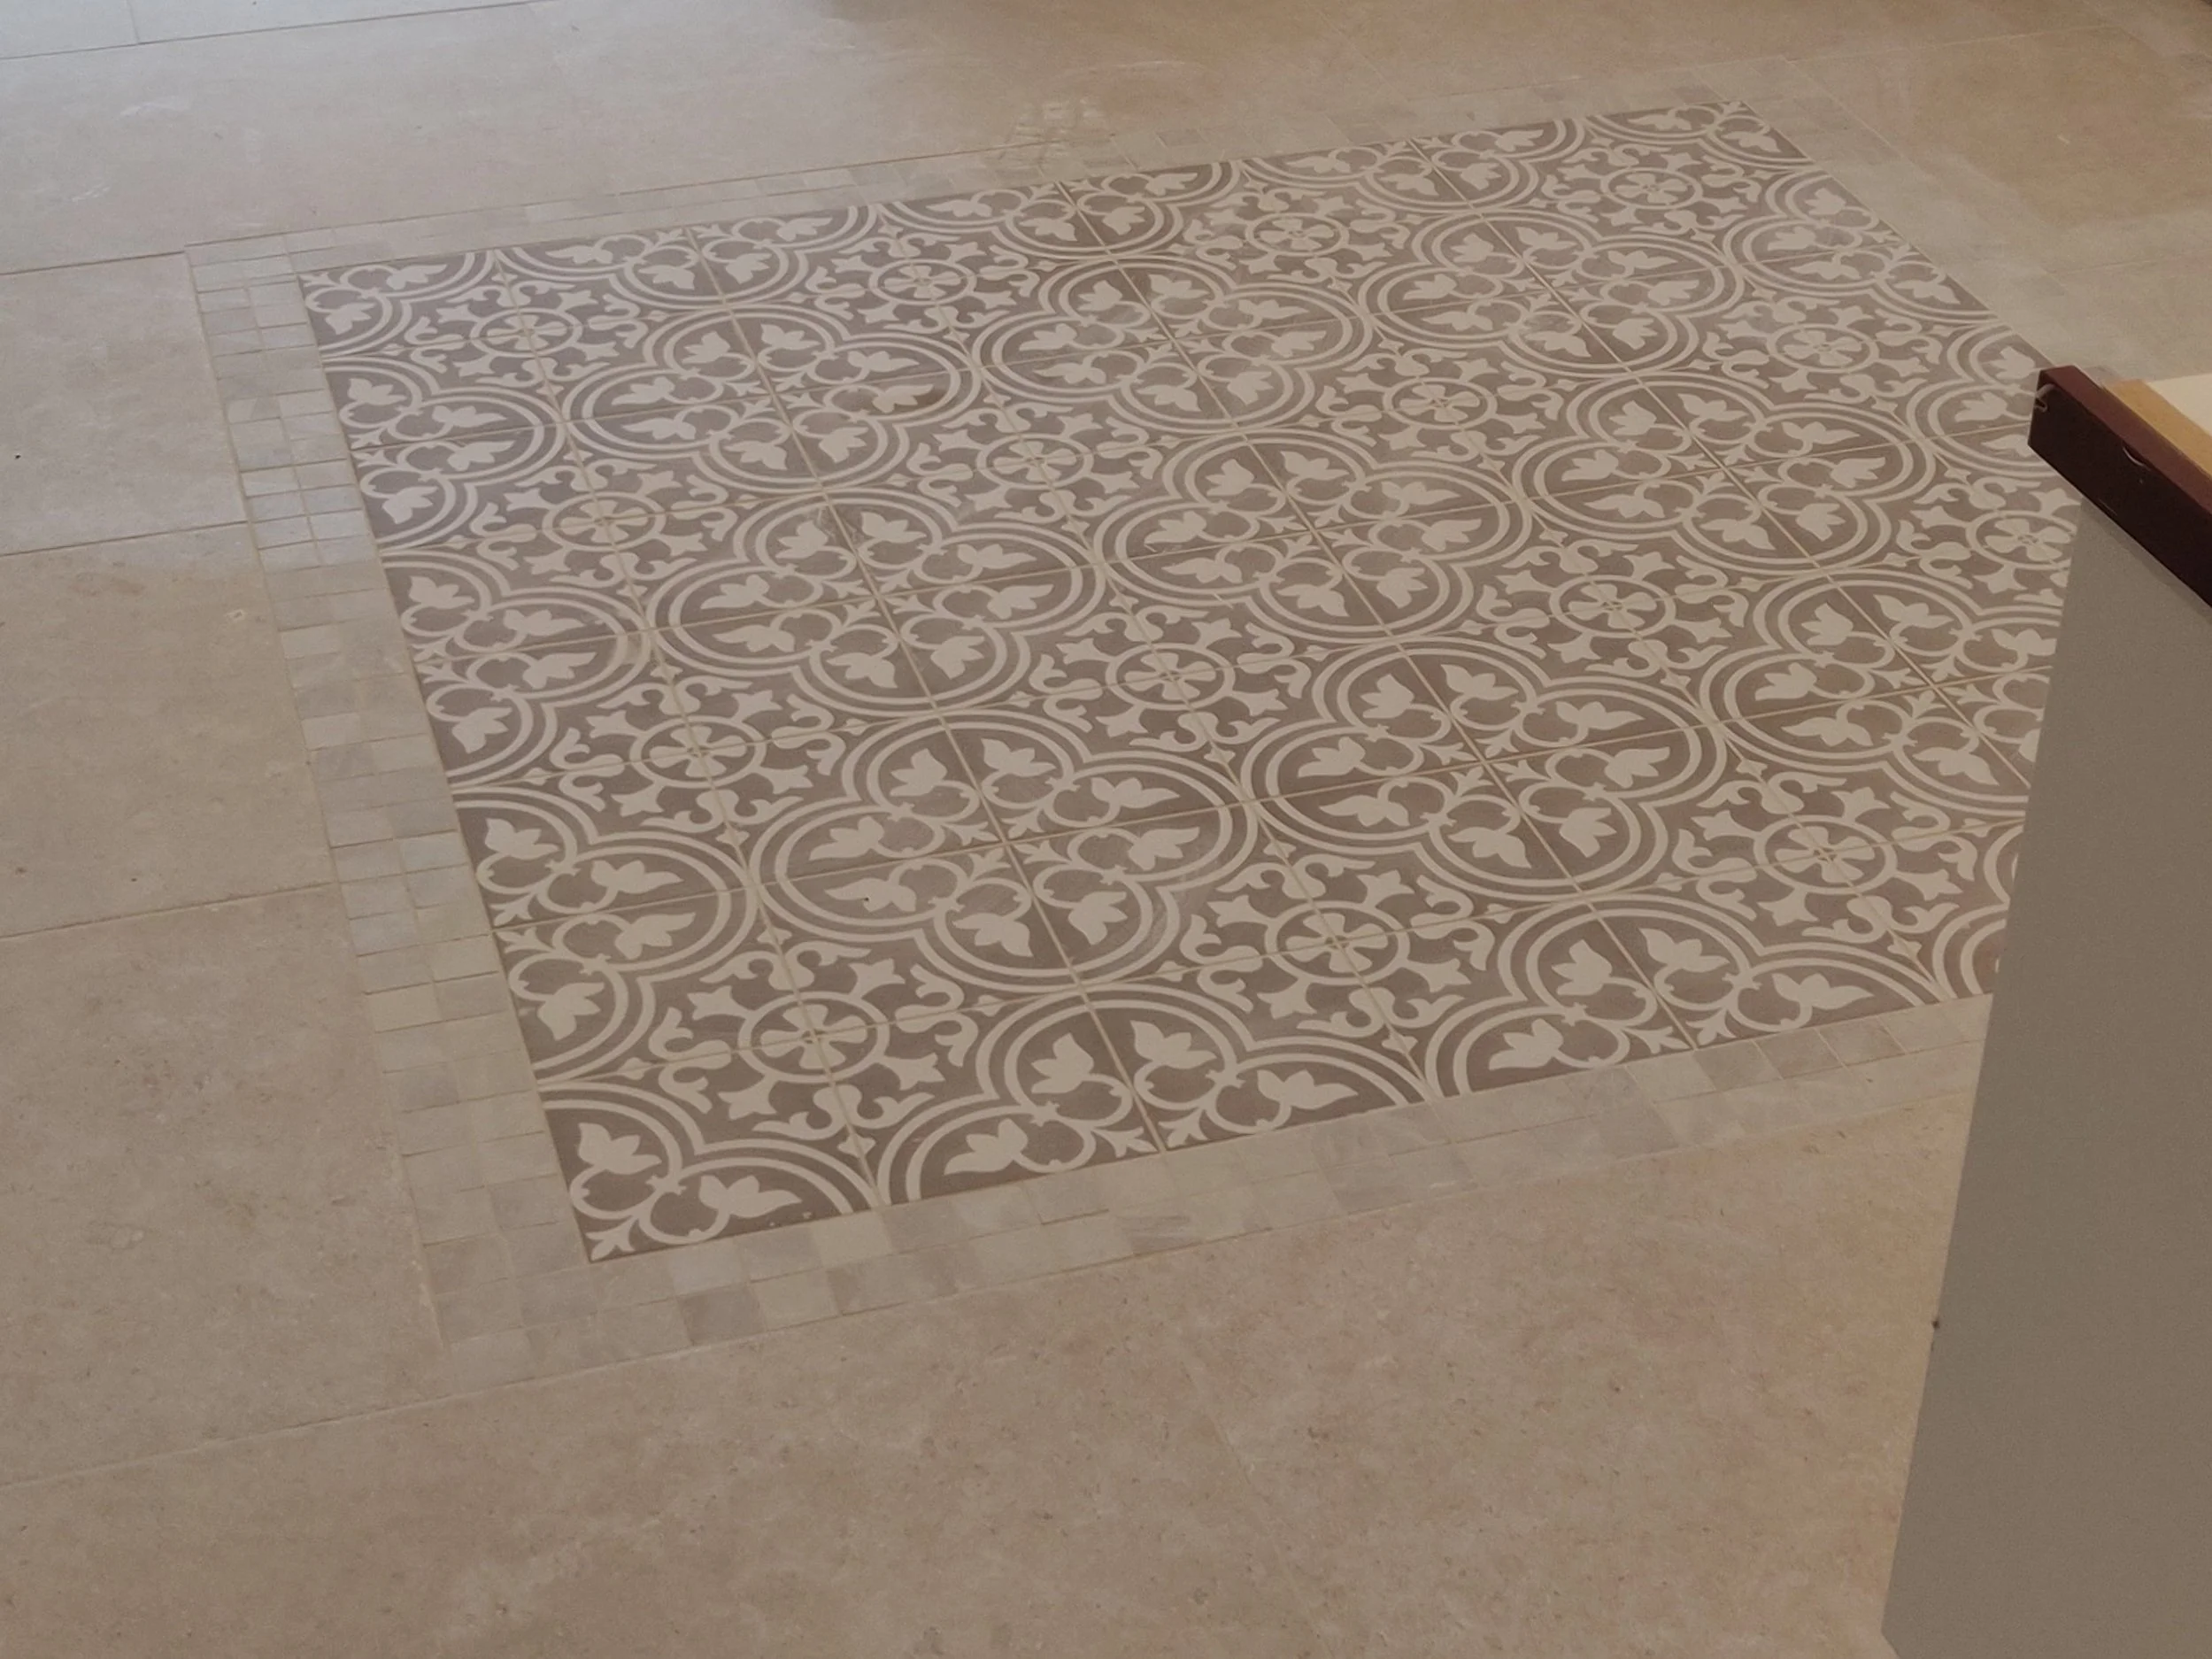
These months focused on the finishes and the installation of fixed furniture. The kitchen units were installed, along with sanitary fittings for the bathroom and ensuite. Additionally, tiling progressed, the ‘rug’ feature pattern in the kitchen floor was dry-laid to finalize its size and location before installation. This phase ensured that the detailed and personal touches of the project were accurately implemented.
Month 09: Final Testing and Installation of Electrical and Plumbing
In Month 09, the focus was on crucial testing and installations. This included the completion of all electrical outlets and lighting, as well as the plumbing for sanitary fixtures. The heating system was tested, encompassing both the underfloor heating on the ground floor and the radiators on the first floor. Externally, finishing touches were applied with the addition of detailed timber trims around the windows and doors, bringing the project a step closer to completion.
Month 10: Final Touches
In Month 10, the focus shifted to final touches and preparation for handover. This involved grouting and sealing to complete the finishes, along with touch-up painting to address any accidental scratches or marks from previous work. Comprehensive cleaning was undertaken, including windows, kitchen units, worktops, and floor and wall tiling. These final steps ensured that the project was presented in pristine condition, ready for the eager clients to enjoy their newly transformed home.


